
In our last blog, we covered the basics of creating pressed flower art in hinged-style frames. In this blog we’re diving deeper into arrangement techniques to help you elevate your designs.
Popular Arrangement StylesNatural Scatter
- Mimic the way flowers and leaves might fall naturally by creating a scattered arrangement. This style works well for a more casual, organic look.
- Ideal for: A variety of flower sizes and shapes.
Tip: Use all one type of flower, or use a combination of sizes with smaller flowers and leaves as fillers.
Bouquet Recreation
- Arrange your pressed flowers as though you were recreating a bouquet. Group flowers of similar types together and add greenery for a realistic look.
- Ideal for: Preserving memories of special events like weddings or anniversaries.
Tip: Start with larger flowers at the center and layer smaller ones around them for depth.
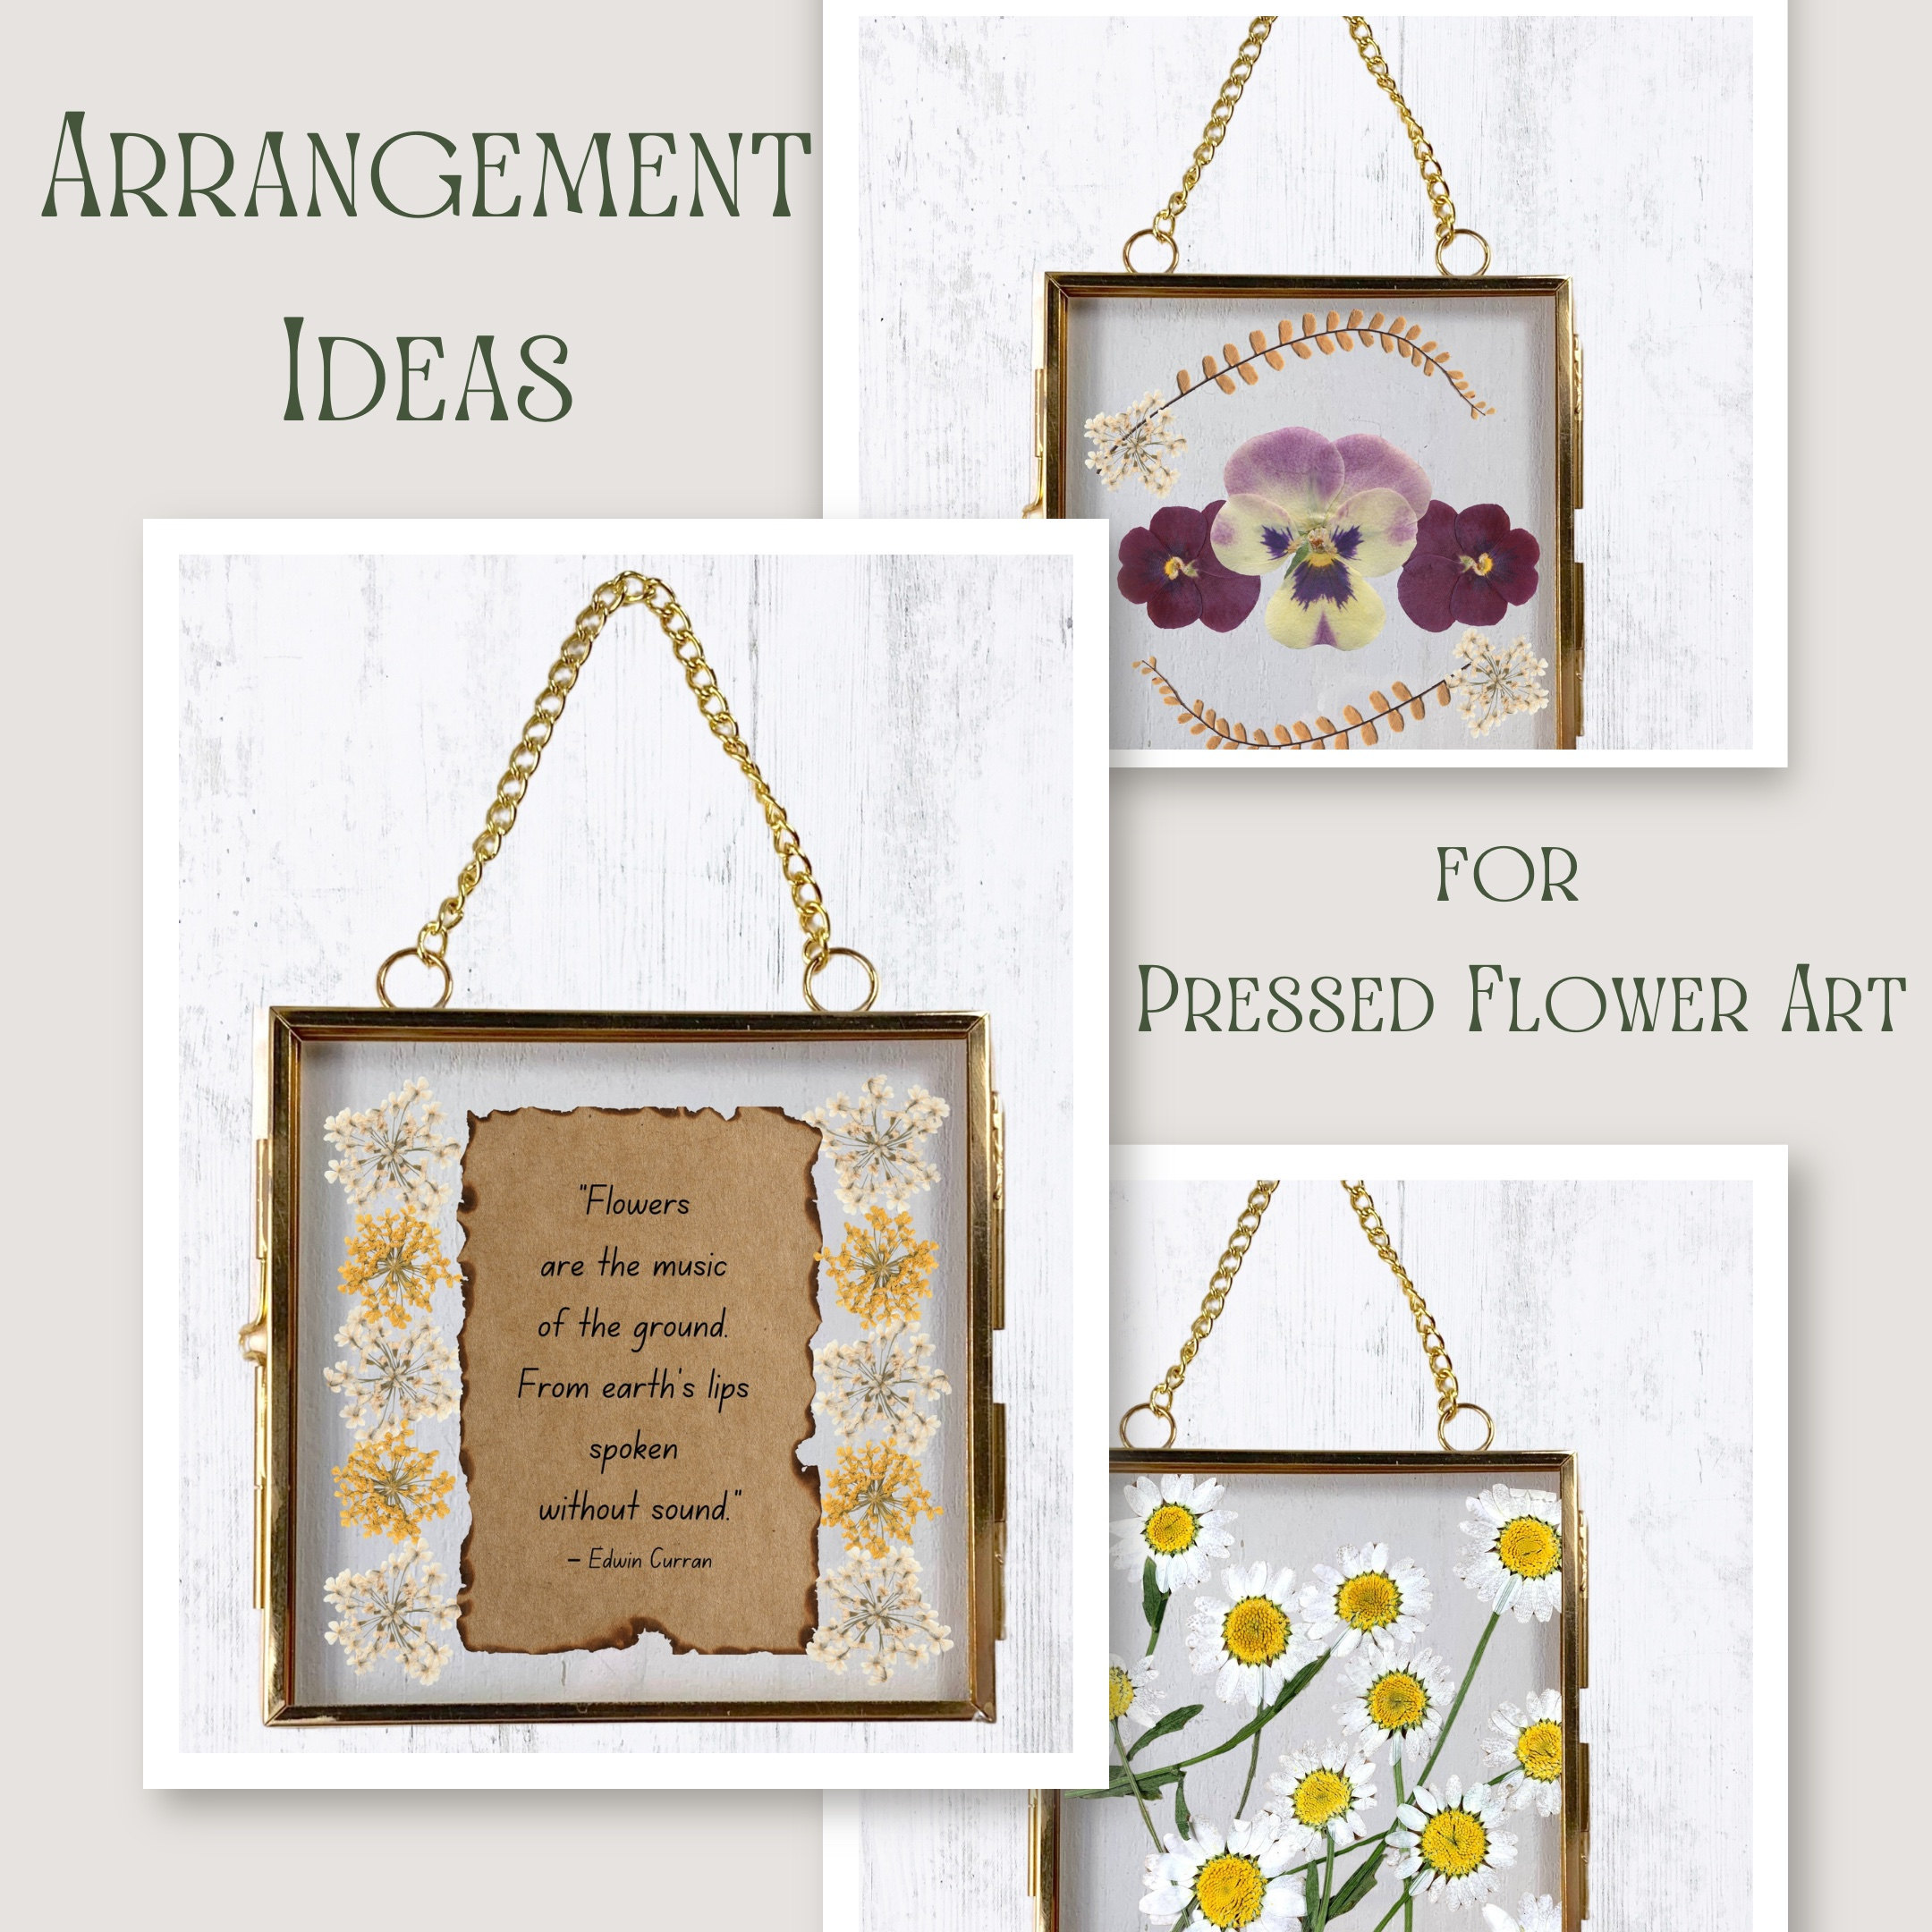
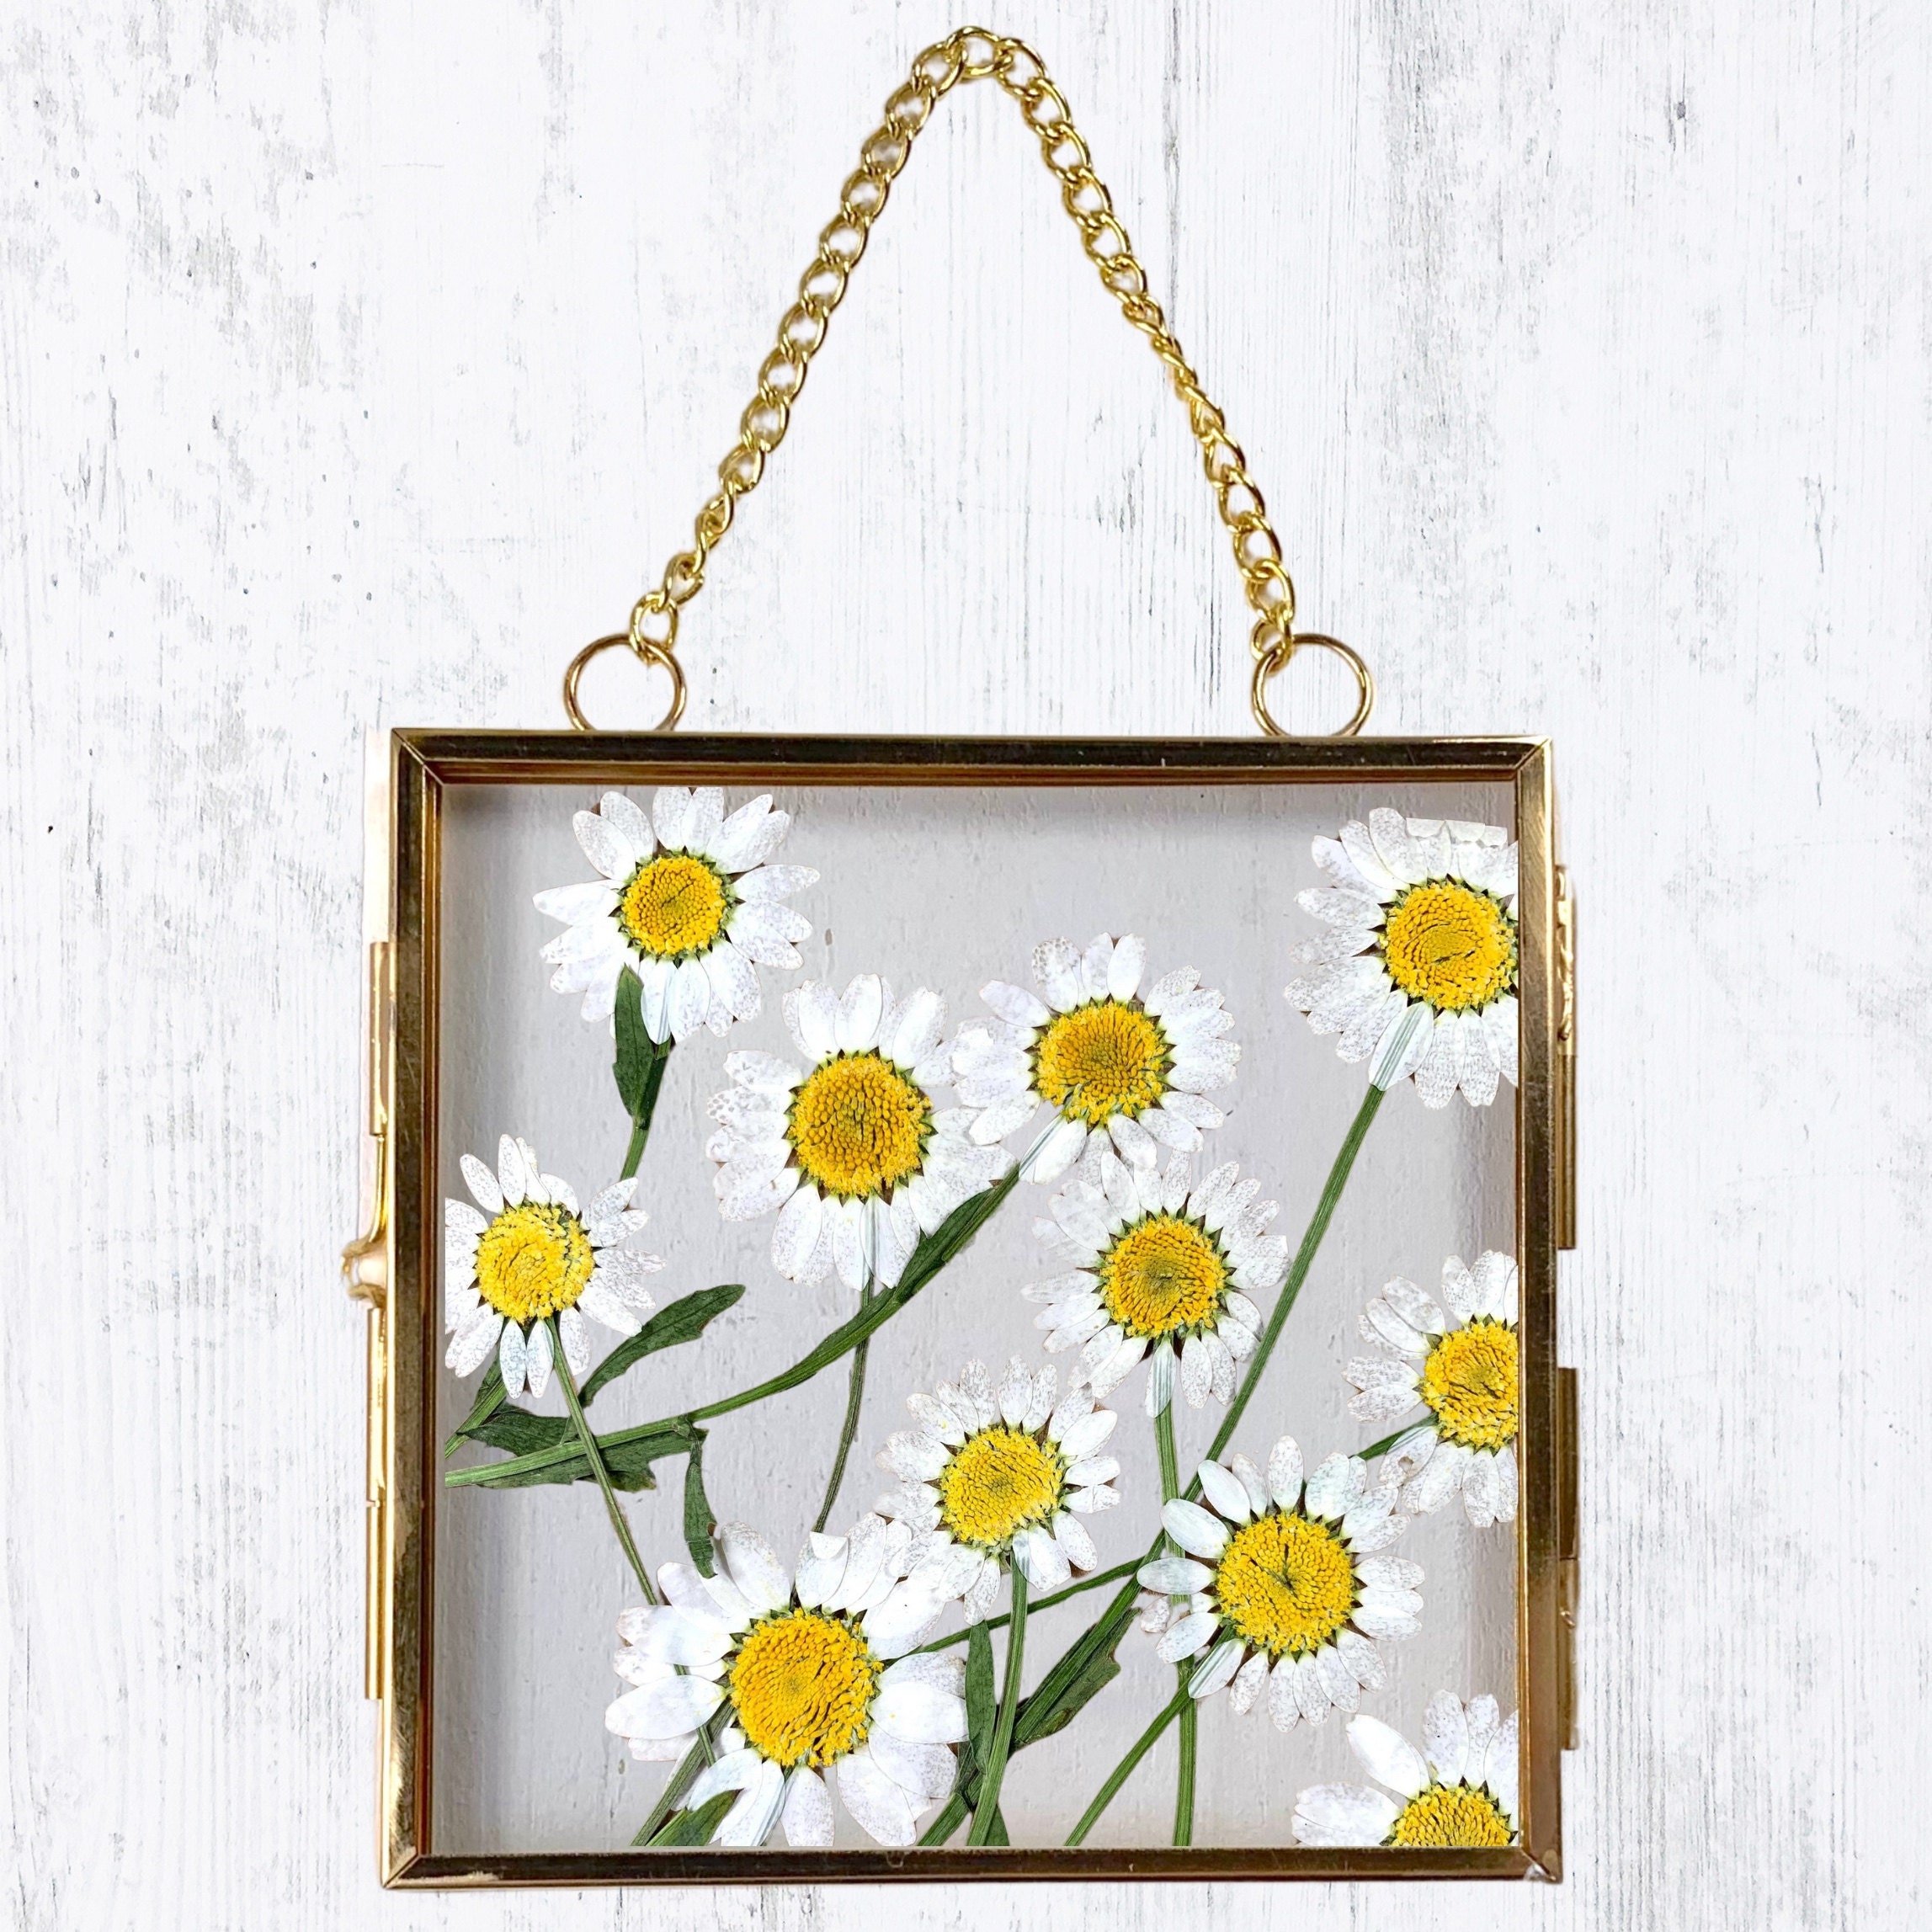
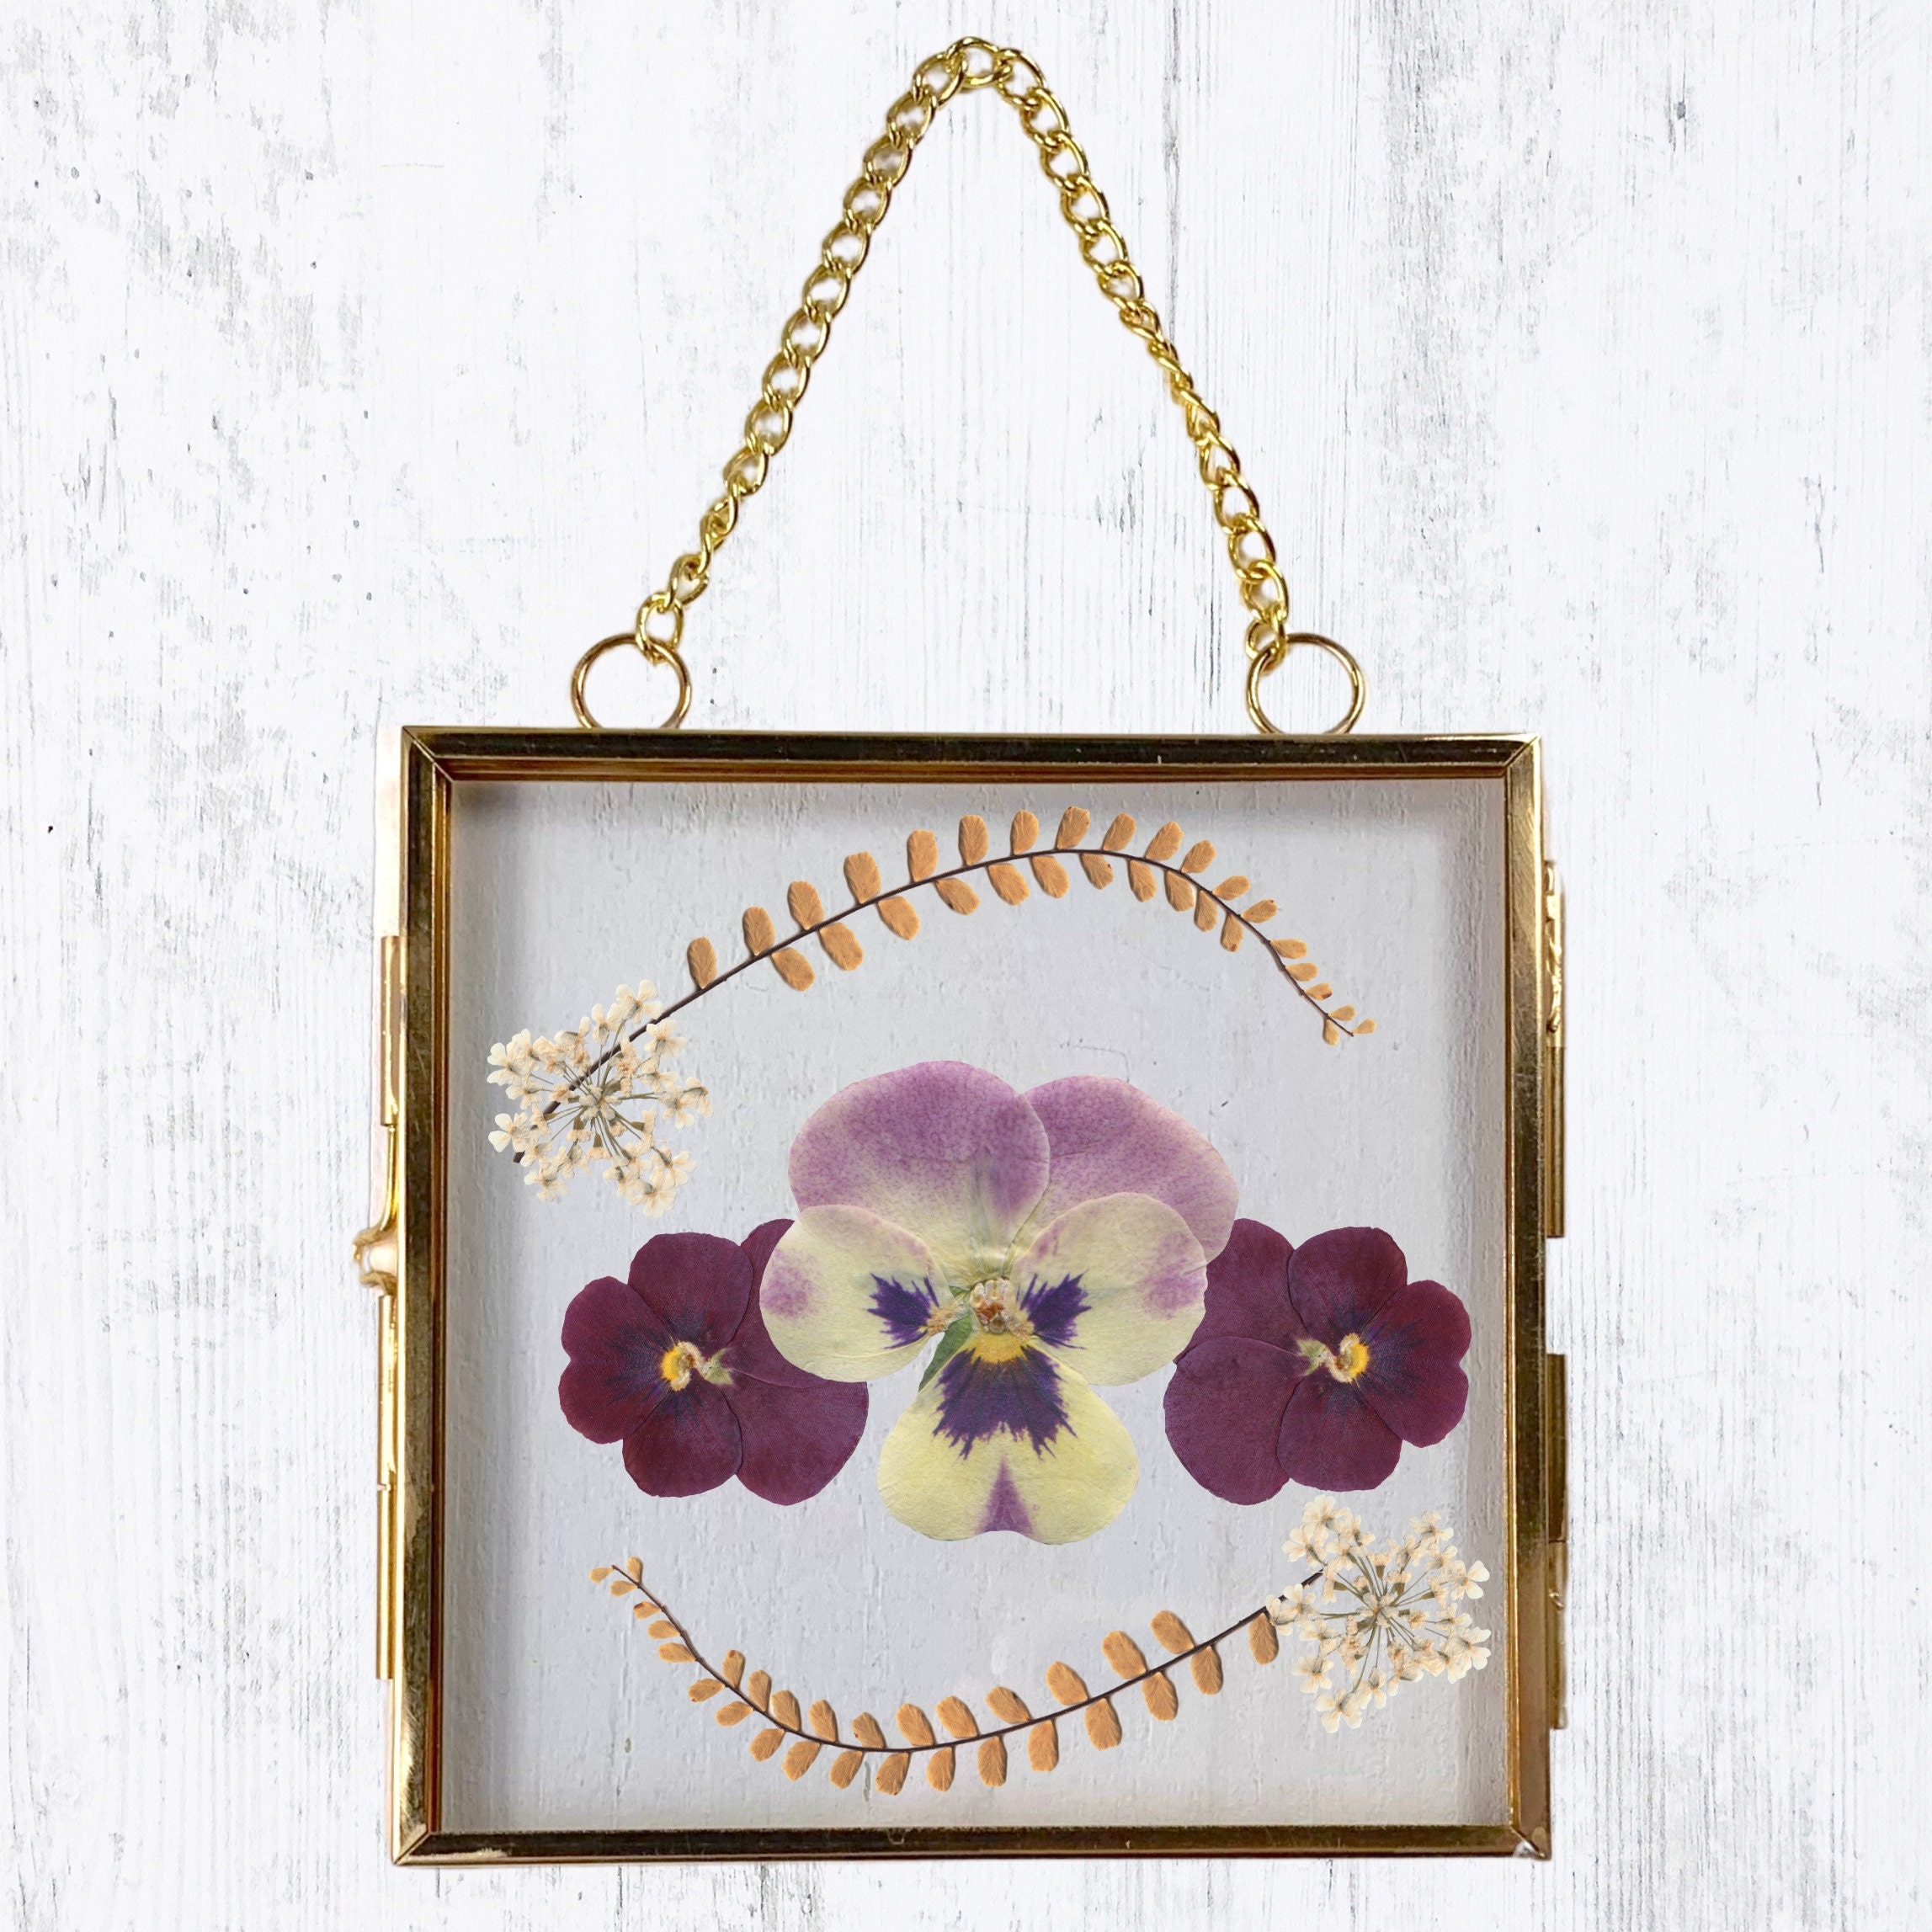
Symmetrical Patterns
- Create a balanced, symmetrical design by arranging flowers and leaves in a mirrored or circular pattern. This style brings a polished, professional feel to your artwork.
- Ideal for: Flowers with distinct shapes, like daisies or pansies.
Tip: Use a ruler or template to ensure precise alignment.
Minimalist Elegance
- Highlight the beauty of a single flower or a few select blooms by arranging them with plenty of negative space. This style emphasizes simplicity and elegance.
- Ideal for: Large or uniquely shaped flowers.
Tip: Sometimes less is more - lean into this style and let the flowers or leaves stand on their own.
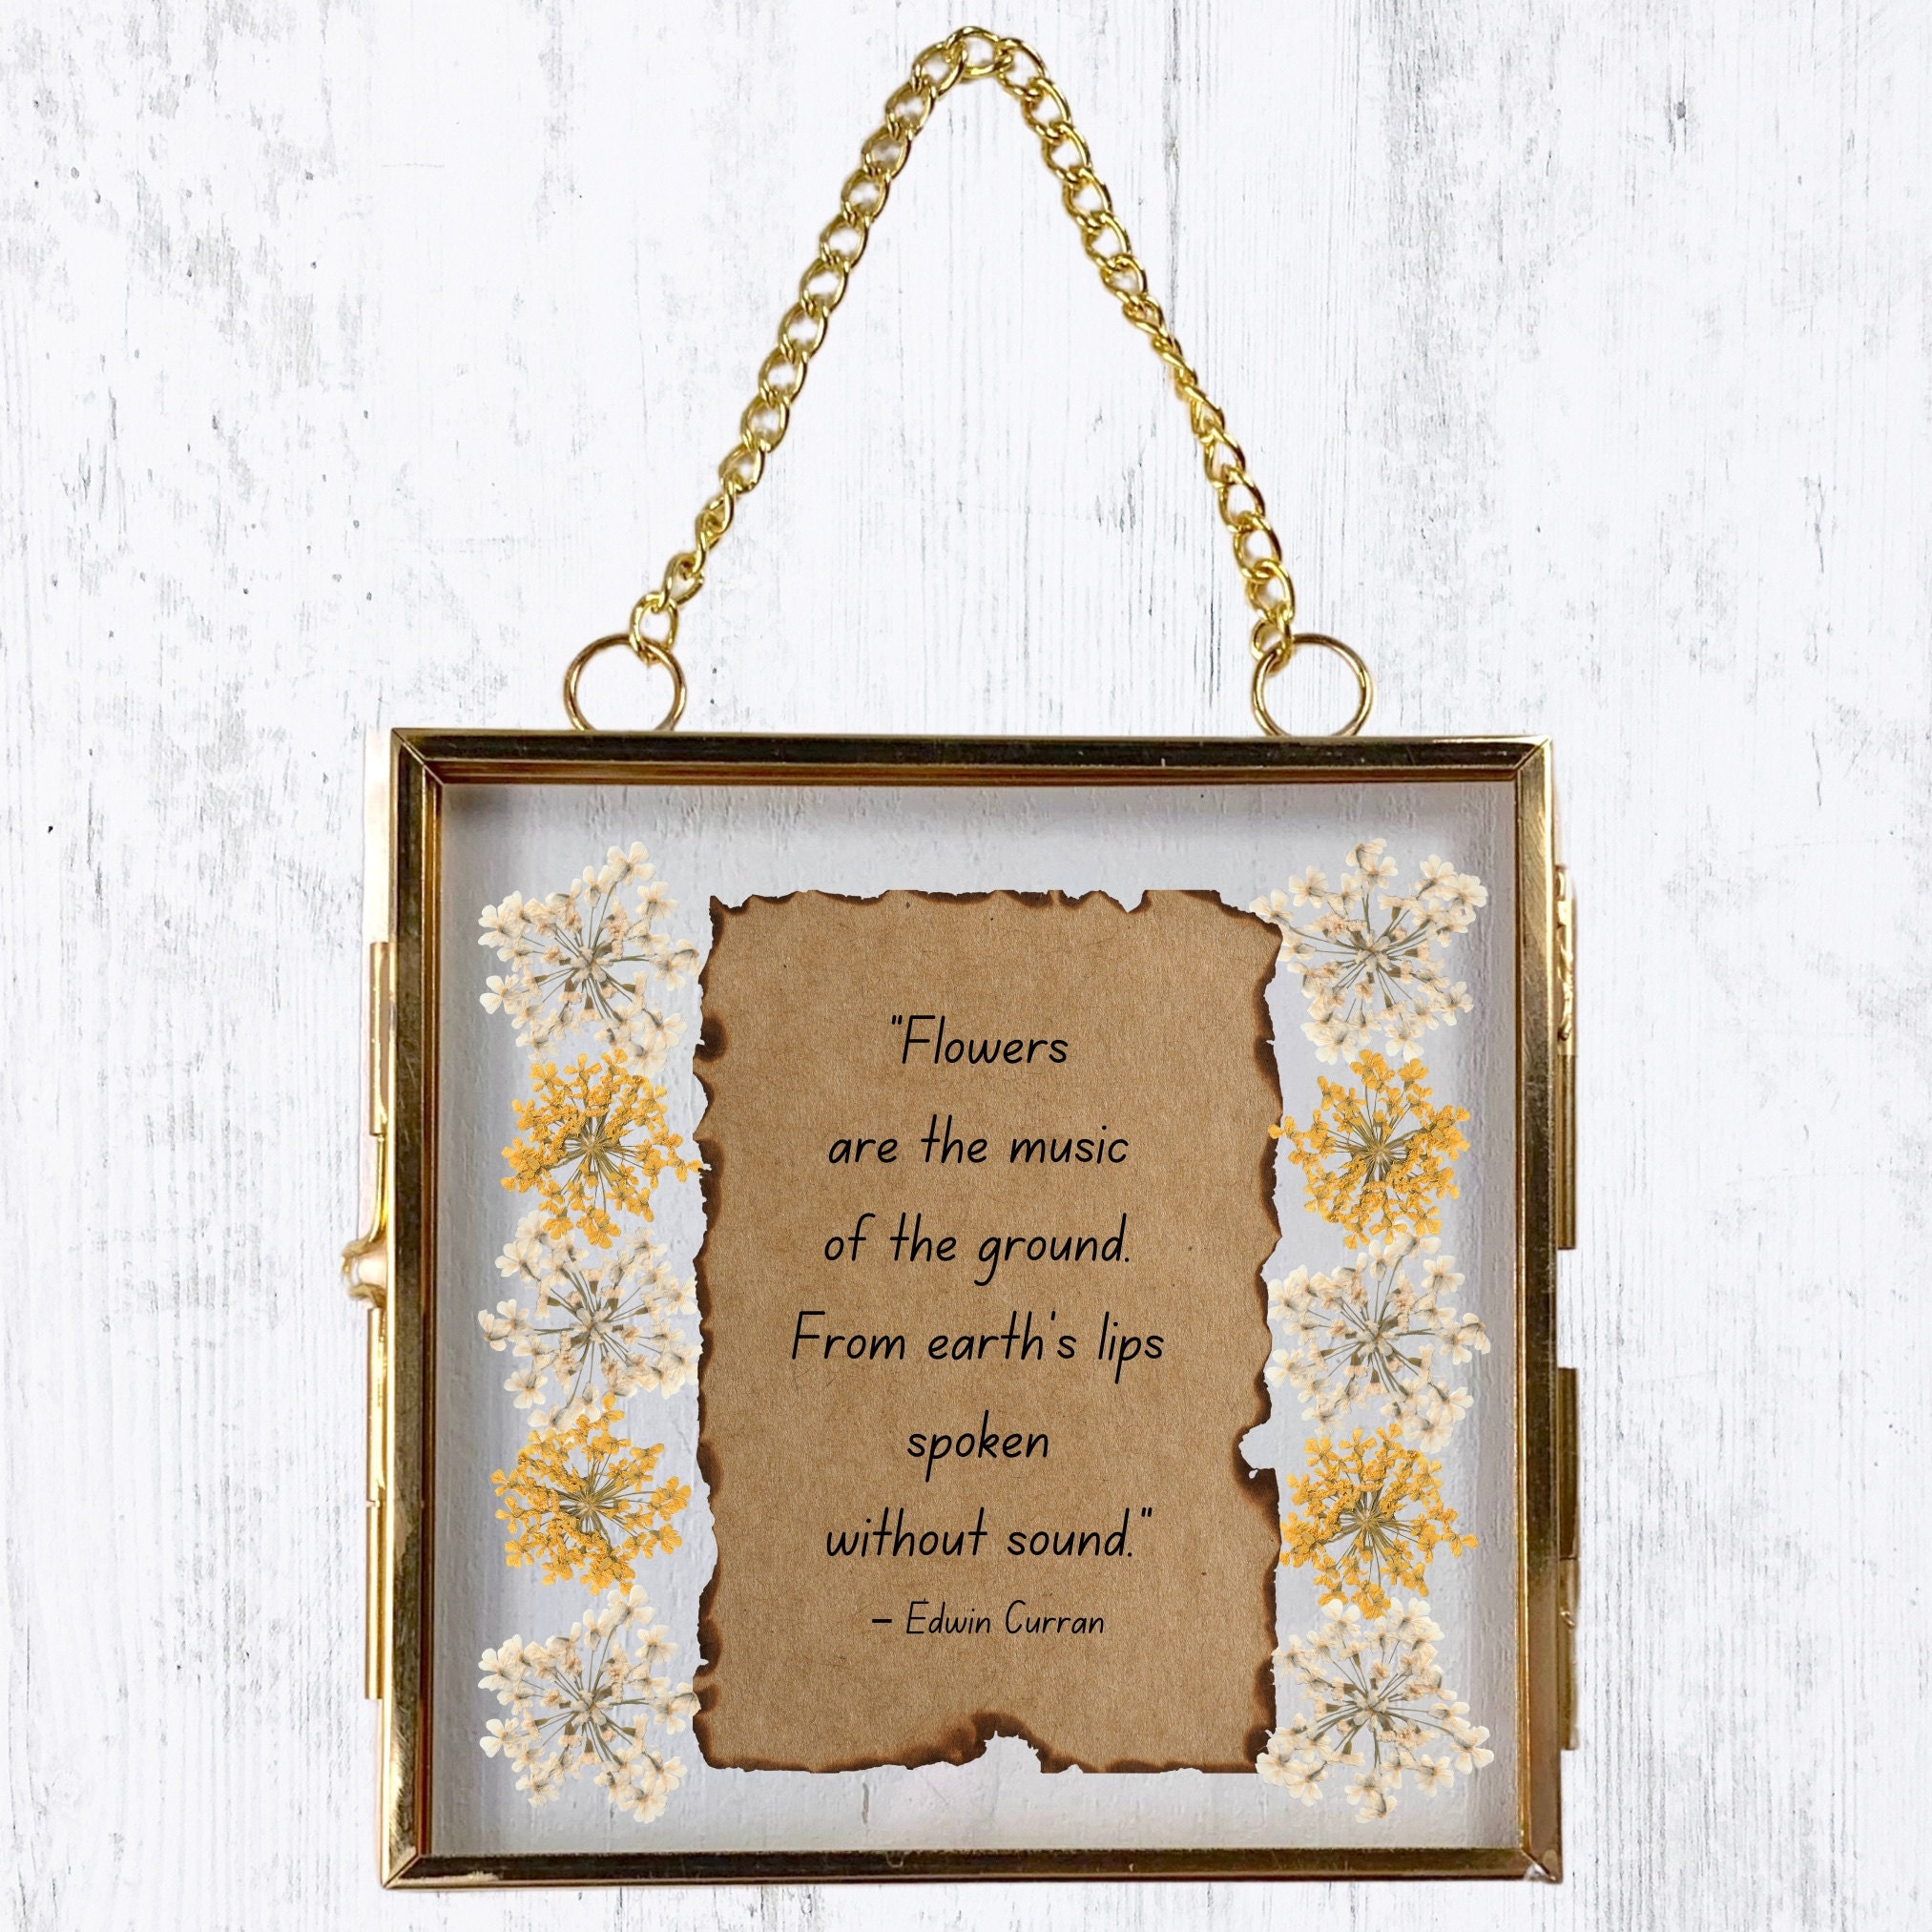
Frame within a Frame
- Arrange your flowers to create a natural "frame" around the edges of your glass pane, leaving the center open for text, photos, or other embellishments.
- Ideal for: Decorative pieces with a personal touch.
Tip: Use smaller flowers or greenery to create the frame while ensuring it doesn’t overpower the centerpiece.
Abstract Designs
- Break away from traditional styles by arranging your flowers in unique, abstract patterns. Use curves, swirls, or layered effects to add a modern twist.
- Ideal for: Crafting one-of-a-kind, eye-catching decor.
Tip: Experiment with overlapping petals or mixing colors for a dynamic effect.
Techniques to Enhance Your Arrangement- Layering: Add depth to your design by overlapping flowers and leaves slightly. Larger flowers can act as a base, with smaller blooms or greenery layered on top.
- Color Coordination: Choose flowers with complementary or contrasting colors to create a harmonious or bold design.
- Textures: Incorporate a mix of smooth petals, textured leaves, and even seeds or grasses for added interest.
- Focal Points: Use a standout flower as the centerpiece and build your arrangement around it.
- Plan Your Layout: Arrange your flowers on the glass pane before applying glue to ensure you’re happy with the design.
- Balance and Proportion: Keep the arrangement balanced by distributing colors, sizes, and shapes evenly.
- Experiment: Don’t be afraid to try different layouts! Sometimes, moving a single flower can completely transform the piece.
Pressed flower art offers endless possibilities for creativity. Whether you prefer a simple, minimalist style or a bold, abstract design, the right arrangement can elevate your piece and make it truly special. Take your time, experiment with different techniques, and let your creativity blossom! Ready to bring your vision to life? Explore our selection of dried flowers and hinged glass frames to start crafting your next masterpiece. Explore glass and nature-inspired craft supplies and handmade treasures—curated and crafted with care: Glass Daisy Craft Co.