
Pressed flower art is a timeless craft that beautifully combines nature and creativity. When displayed in elegant floating glass frames, these delicate floral designs become captivating pieces of decor. Any floating frame can be used for this project; however, we suggest the hinged style due to their ease of use. We also offer a selection of sizes available in our shop to suit your needs.
Whether you’re working with purchased pressed flowers or pressing your own, this guide will help you craft your own pressed flower masterpiece. Let’s dive into the details, including the best adhesive to use and step-by-step instructions for assembling your artwork.
Materials You’ll Need- Pressed flowers and leaves (ensure they are fully dried and flattened)
- Hinged glass double-pane frames (or other floating-style frame)
- Clear-drying glue (use a water-based or gel adhesive that dries clear)
- Tweezers (for precise flower placement)
- Small paintbrush (for applying glue)
- A clean, dry cloth and rubbing alcohol
- Cotton swabs (for glue clean-up)
- Optional: Gloves (to prevent smudges on the glass) and jewelry glue (if opting to permanently close your frame)
Prepare Your Workspace
- Work on a clean, flat surface with good lighting.
- Wipe down the glass panes of your frame with a clean cloth and rubbing alcohol to ensure they are free of dust, smudges, or oily residues.
Arrange Your Design
- Before applying glue, lay out your pressed flowers on one pane of the glass. Experiment with different arrangements to find a composition you love.
- Use tweezers for precise placement, especially for smaller or fragile pieces.
Apply Glue to Flowers
- Once you’re happy with your design, use a small paintbrush to apply a thin layer of clear-drying glue to the back of each flower or leaf.
- Avoid using too much glue, as it can seep out and create visible glue overage. A thin, even layer is sufficient to secure the flowers.
Place Flowers on Glass
- Gently press each glued flower onto the glass pane.
- Smooth out any edges with your fingers or the back of the tweezers to ensure they lie flat. If you notice any visible glue overage while the glue is still wet, gently wipe it away with a clean cotton swab for a neat finish.
Allow Glue to Dry
- Let the glue dry completely. This can take anywhere from 30 minutes to several hours, depending on the type of adhesive used. For best results, refer to the drying time directions provided on the glue container.
- Ensure the flowers are securely attached before proceeding.
Close the Frame
- Carefully close the hinged frame to sandwich your design between the two glass panes.
- Secure the frame’s hinge mechanism. To preserve the arrangement, consider applying a small amount of clear-drying glue compatible with metal, such as jewelry glue, to the hinge pin.
Hang your frame in a well-lit area to showcase the vibrant colors and intricate details of your pressed flower art. Avoid direct sunlight, as prolonged exposure can cause fading over time.
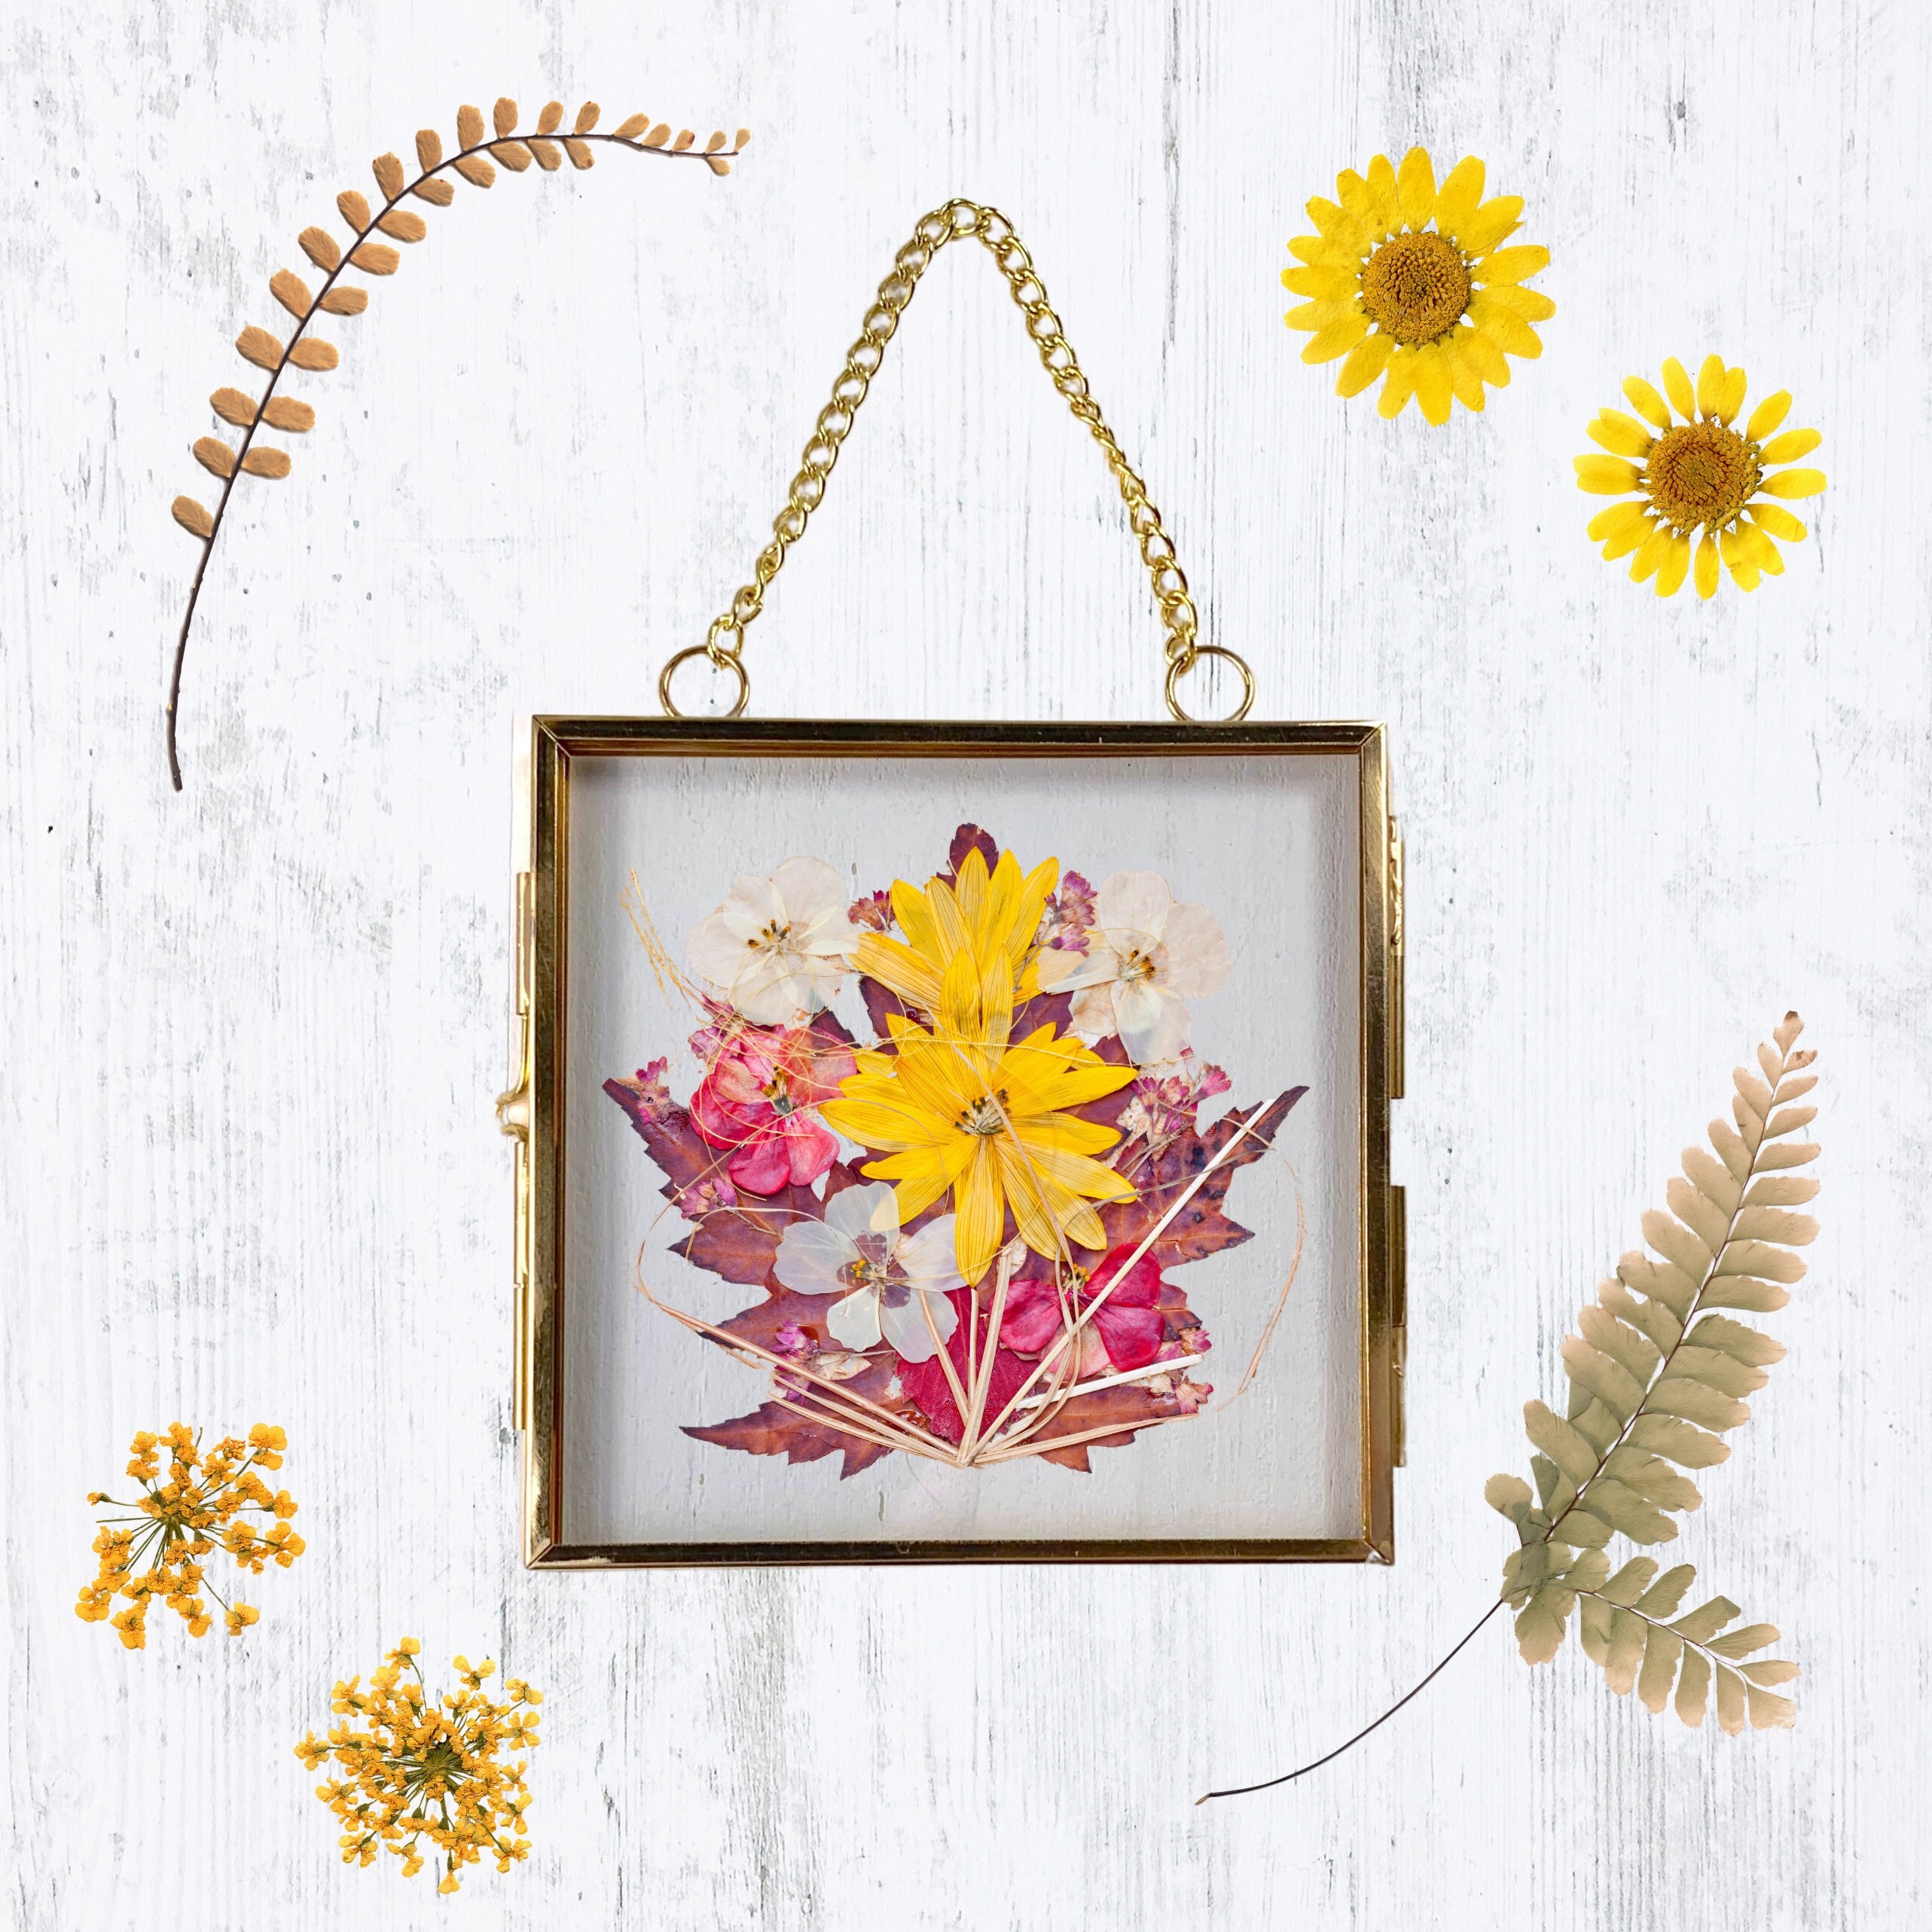
- Choose the Right Flowers: Flat, thin flowers like pansies, daisies, and ferns work best for pressed flower art. Avoid flowers with thick centers, as they may not press evenly.
- Handle with Care: Pressed flowers are delicate. Use tweezers and avoid touching them directly to prevent tearing.
Creating pressed flower art is a rewarding way to preserve nature’s beauty. With just a few materials and a little patience, you can craft elegant decor pieces that brighten any space.
Ready to start your pressed flower project? Explore our curated selection of dried flowers and hanging frames to bring your vision to life.
Let your creativity blossom!