Continuing our series on pressed flower crafts, I'm excited to share a fun DIY project inspired by my friend Julie, whose extensive knowledge of pressed flower art has resulted in beautiful creations like this, and other home decor pieces.
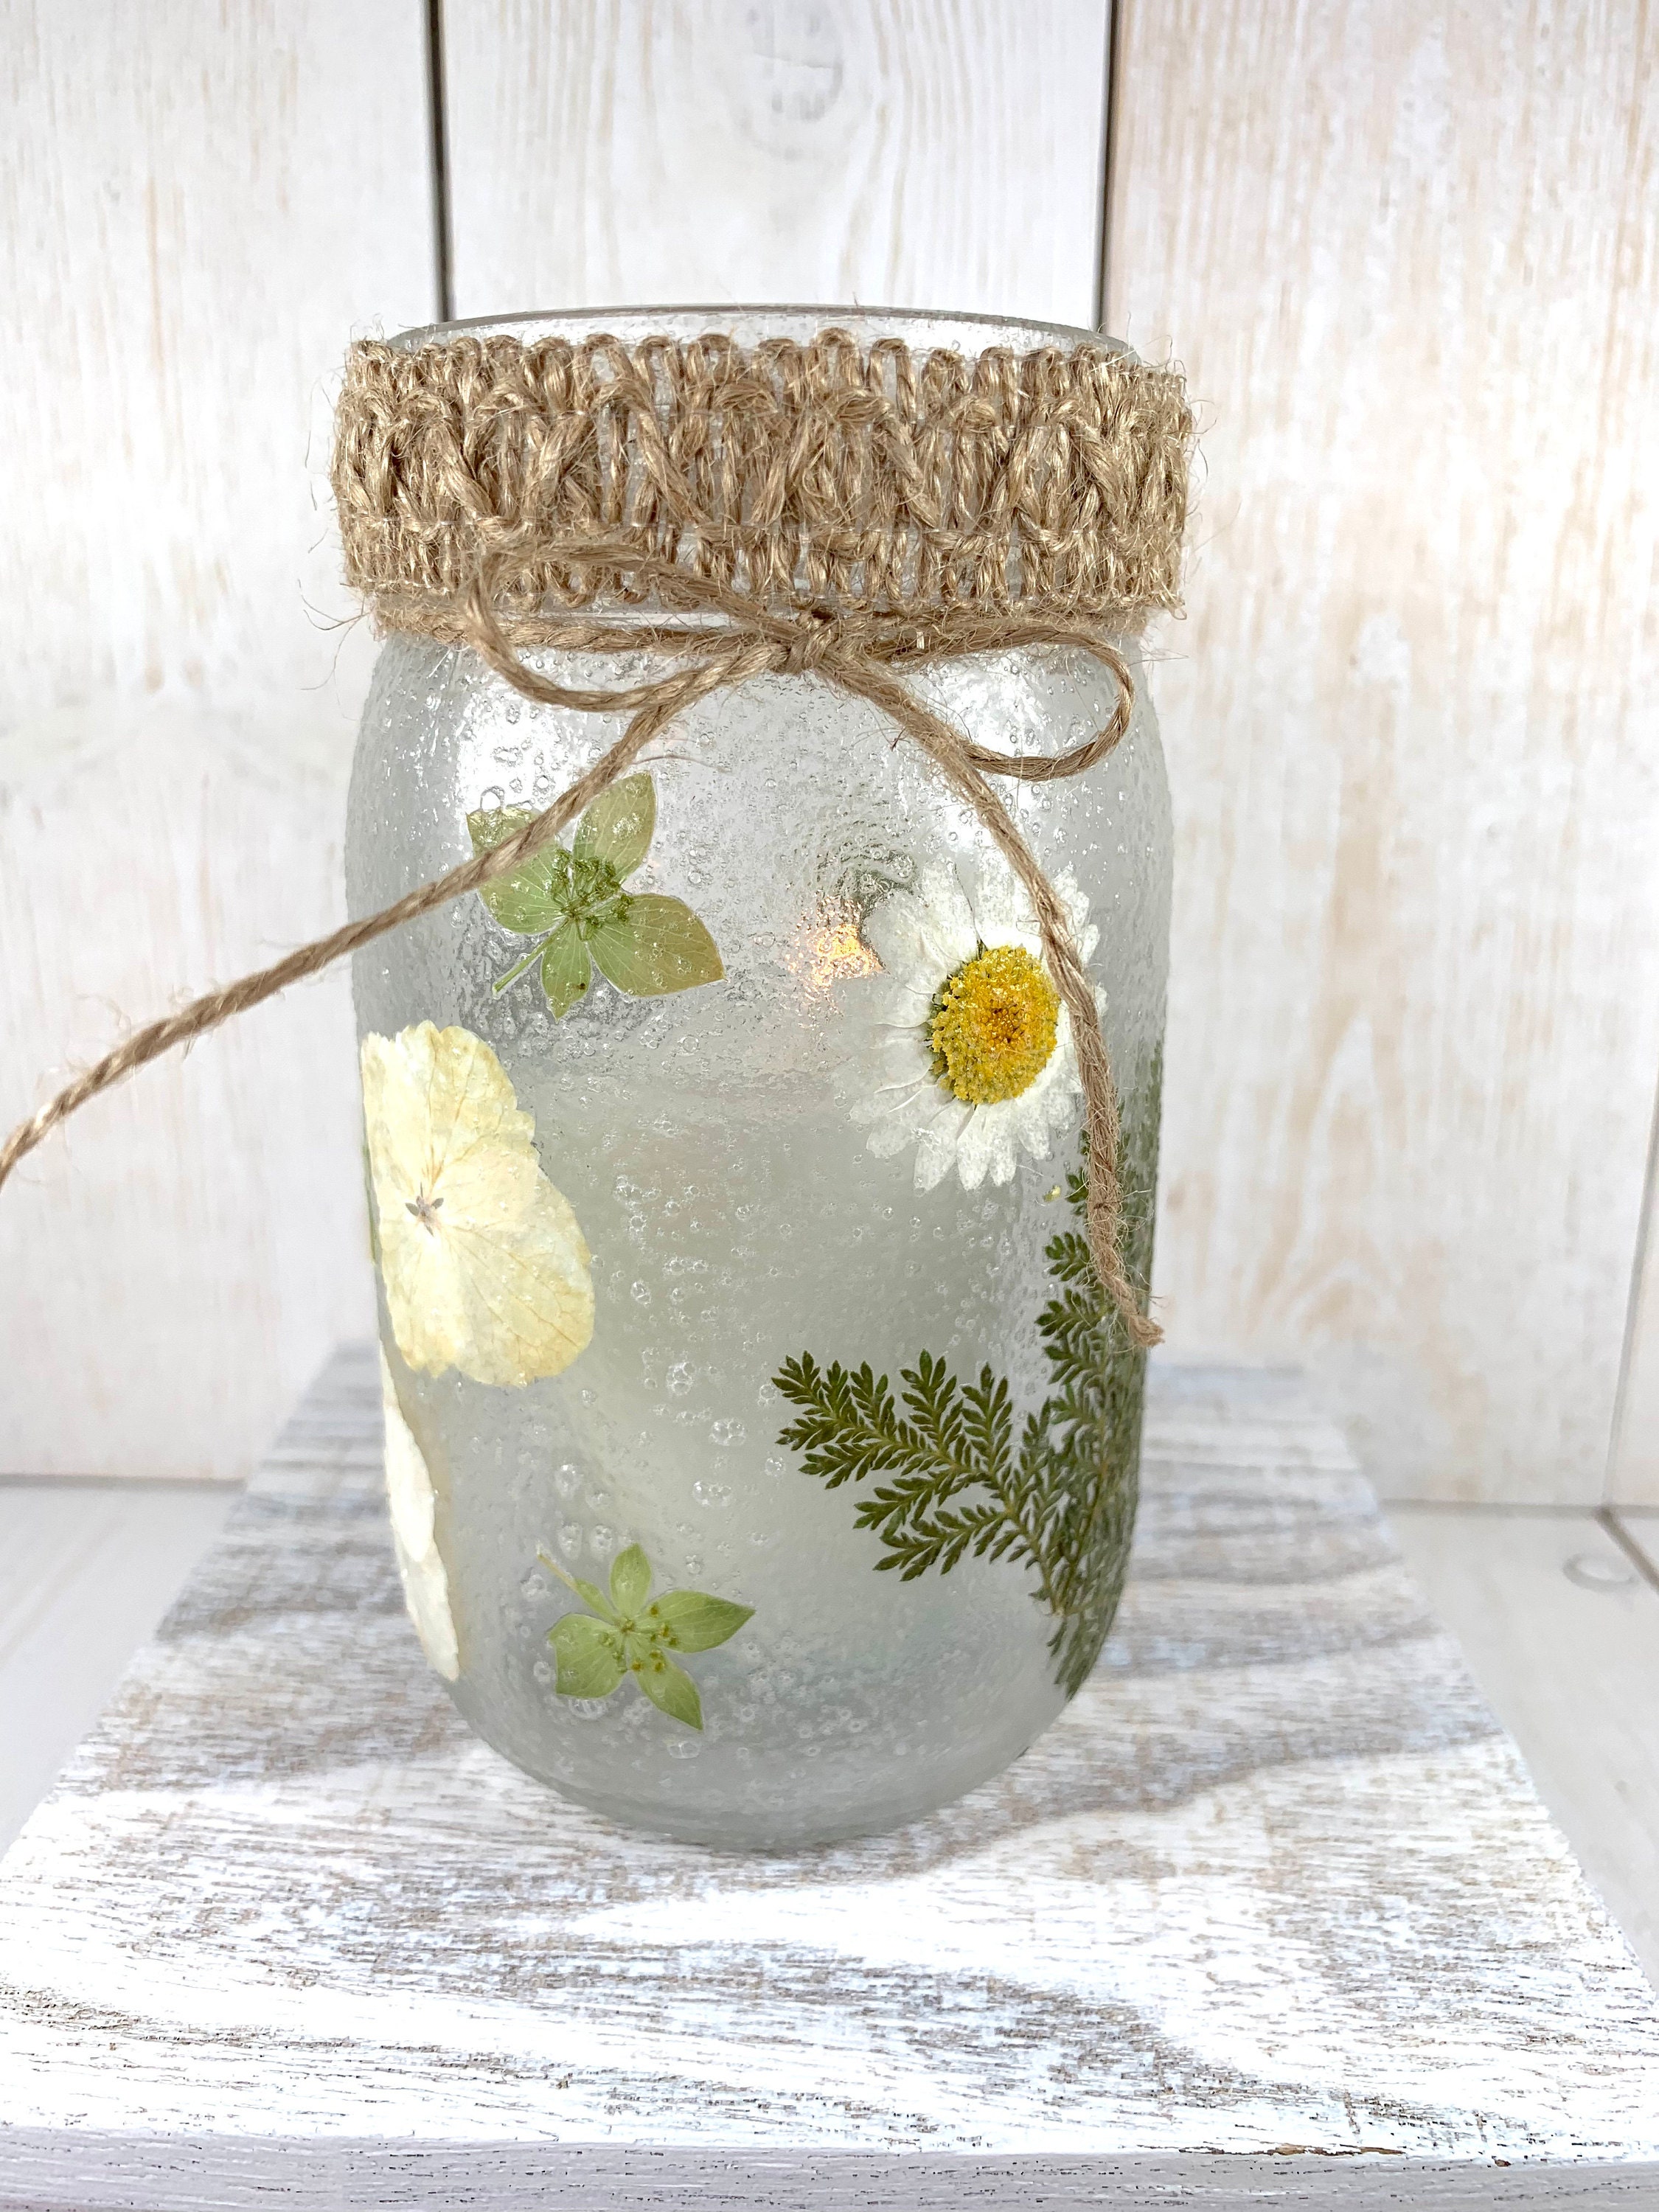
Here's how to transform a simple glass jar into a charming candle holder adorned with pressed flowers, bringing a touch of nature's elegance into your home.
Materials Needed:
- Glass Jar: A clean, smooth-sided jar works best. Recycling jars from your kitchen is both eco-friendly and cost-effective. (We also have jars available in our shop.)
- Pressed Flowers and Leaves: You can press your own or purchase pre-pressed varieties.
- Mod Podge: This serves as both glue and sealant. (Satin finish was used in the photos below.)
- Foam Brush: For applying the Mod Podge.
- Tweezers: To handle delicate pressed flowers.
- Optional: Twine or ribbon for added decoration.
Steps to Create Your Candle Holder:
1. Prepare Your Jar:Ensure the jar is thoroughly cleaned, removing any labels and adhesive residue. A mixture of equal parts cooking oil and baking soda can help remove stubborn glue.
Lay out your pressed flowers and leaves to visualize your design before adhering them to the jar. Experiment with placement to find a composition you love. For arrangement inspiration, check out this blog. While it focuses on framed pressed flower art, the concepts are easily adaptable to this project as well.
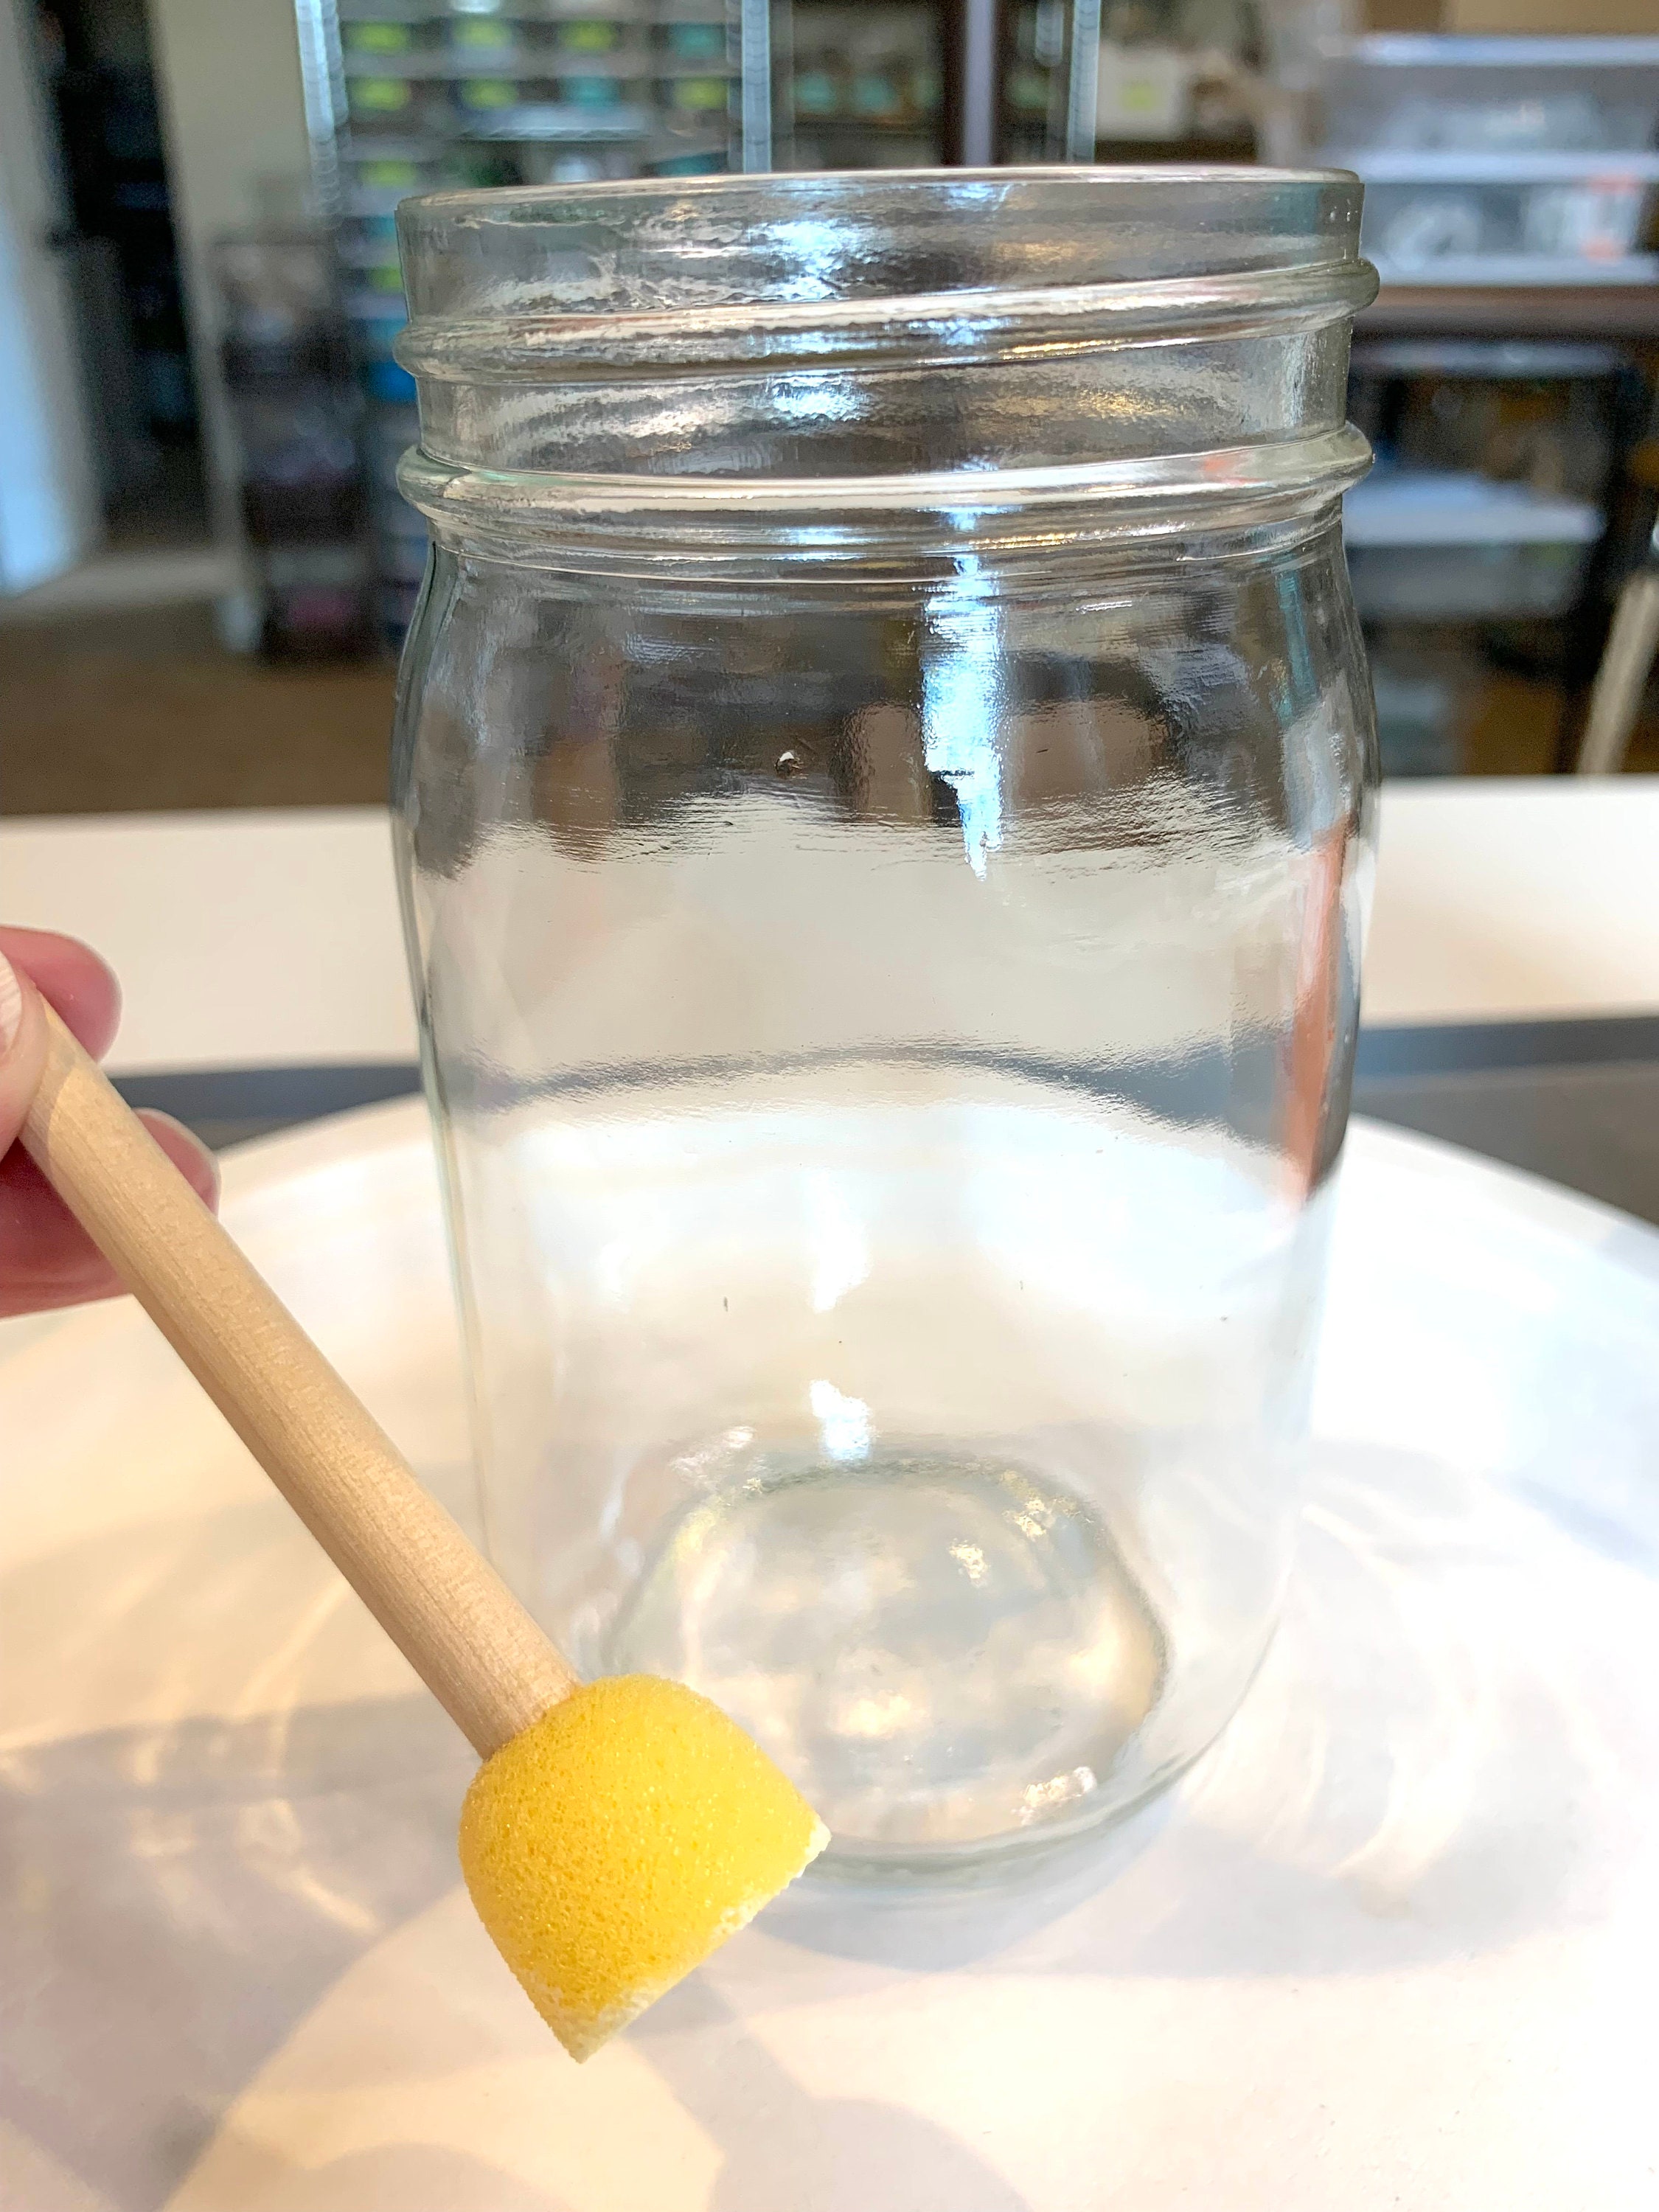
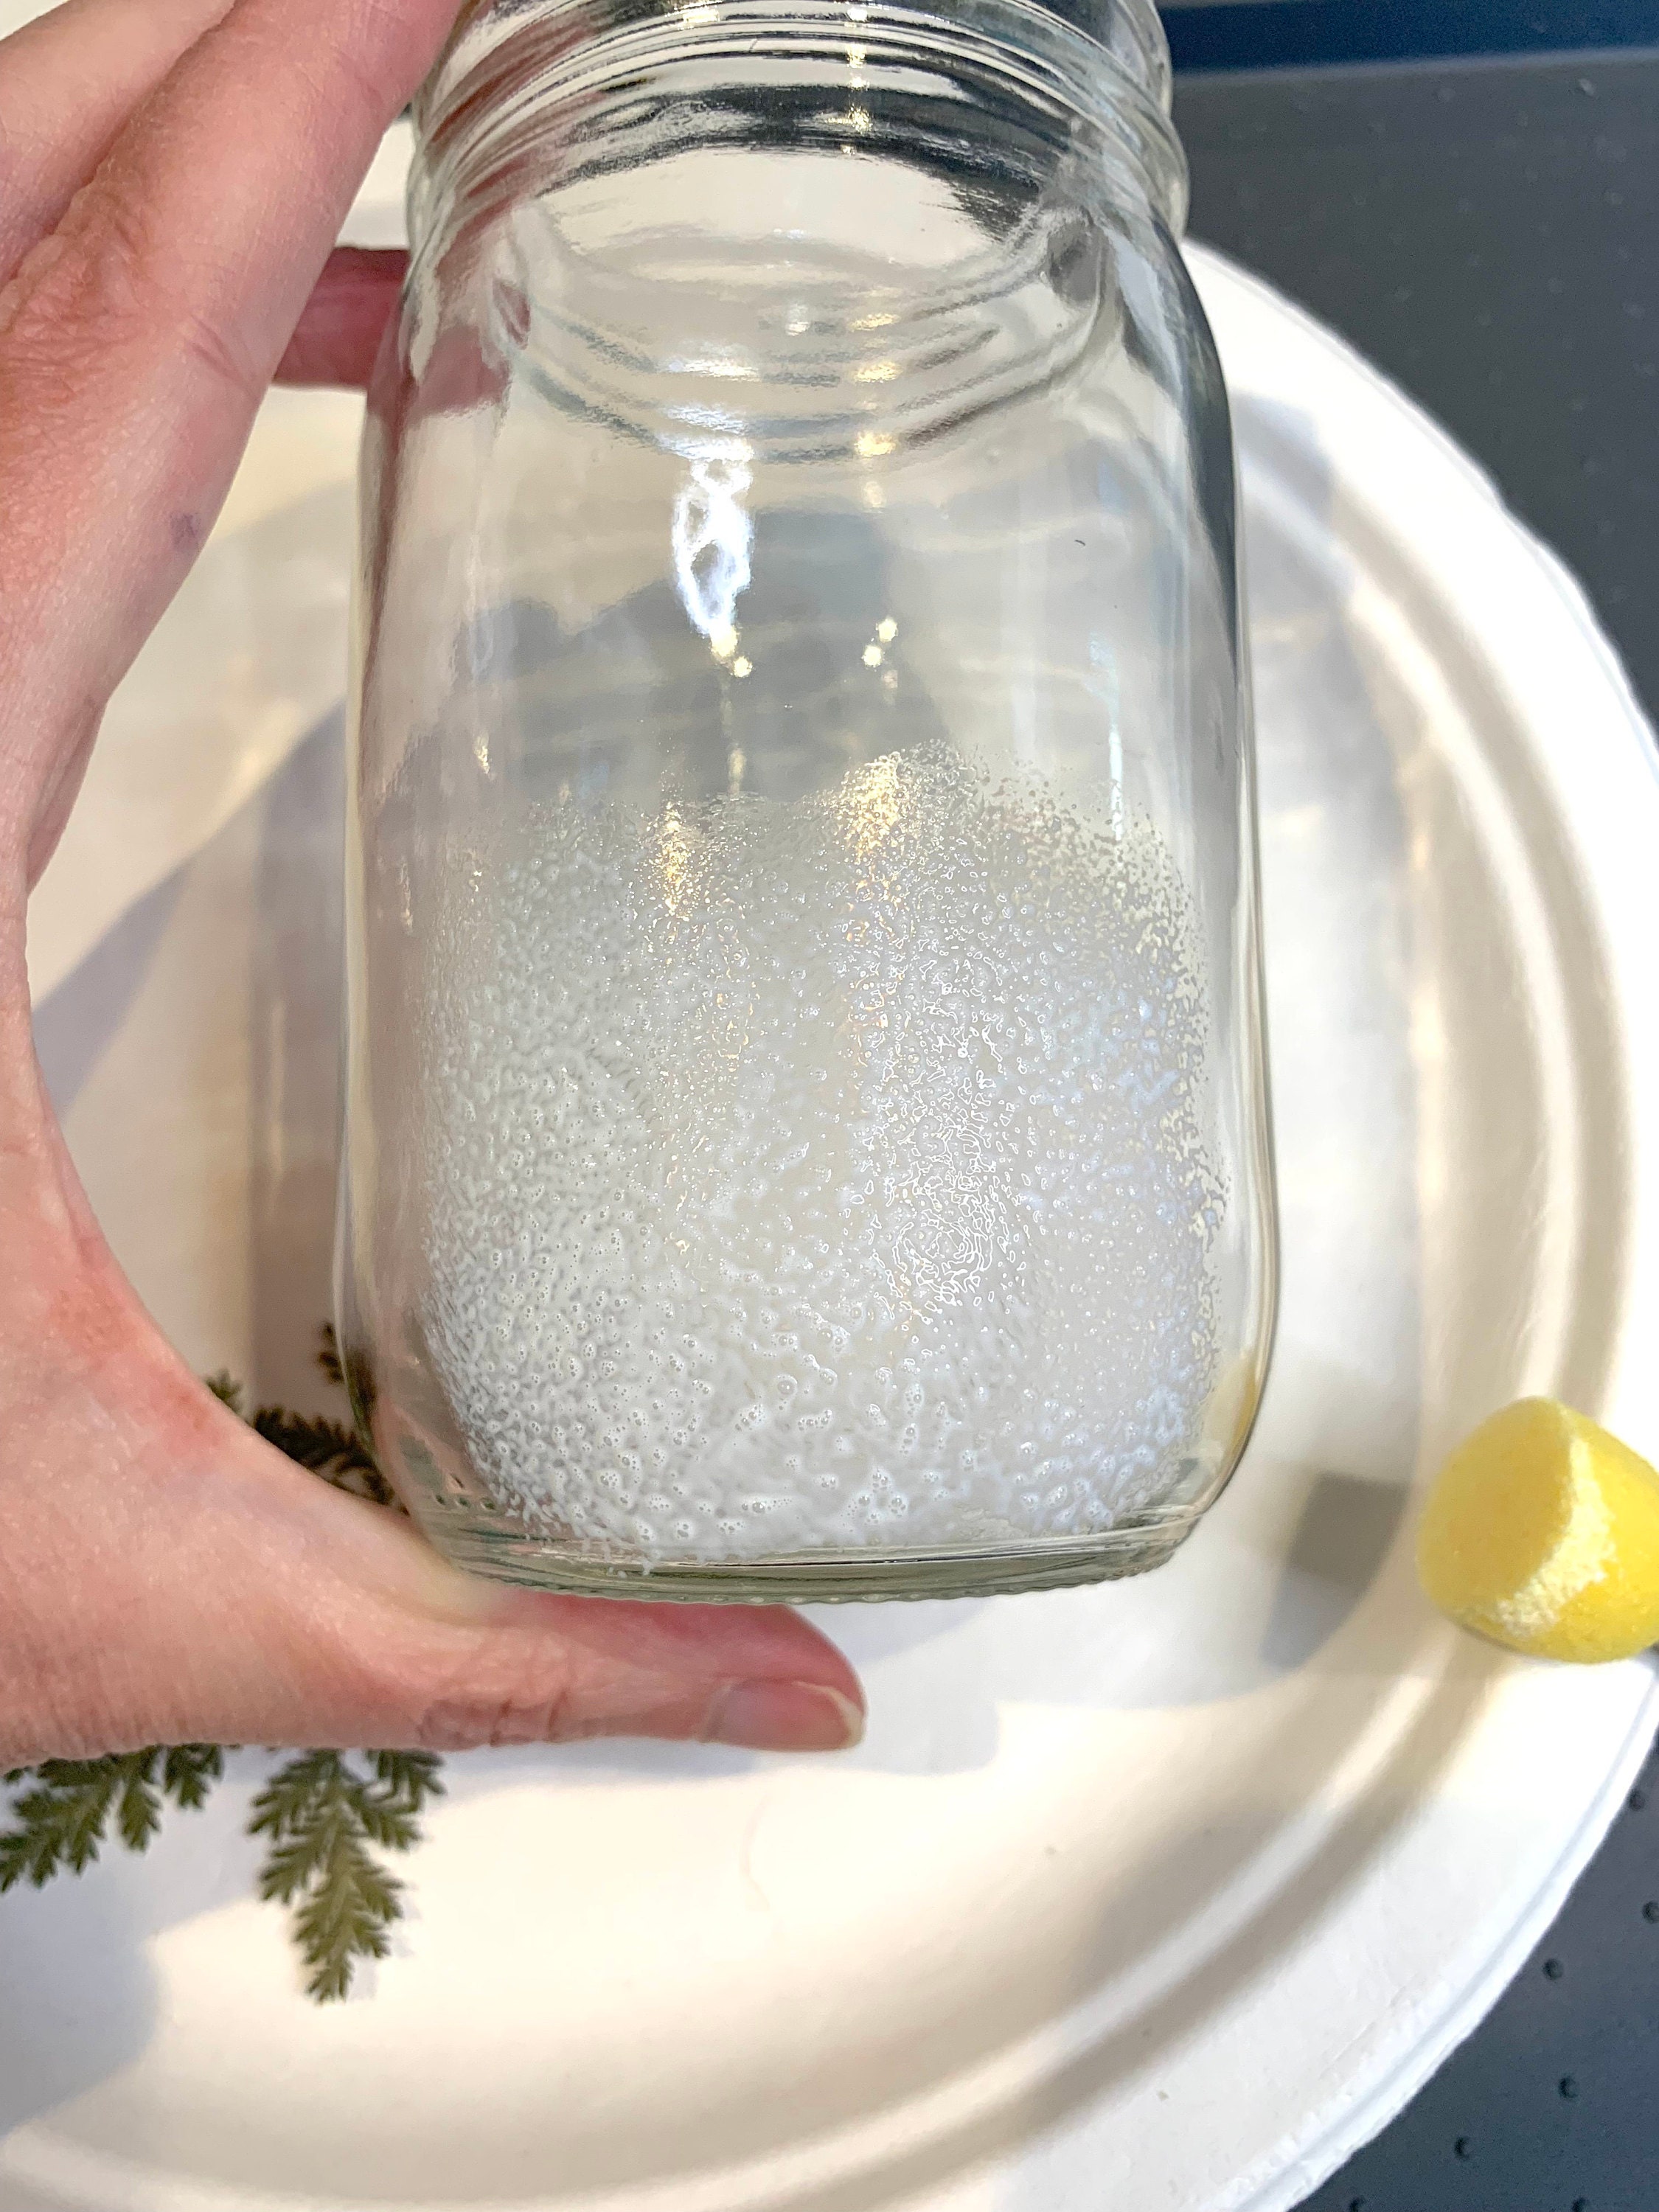
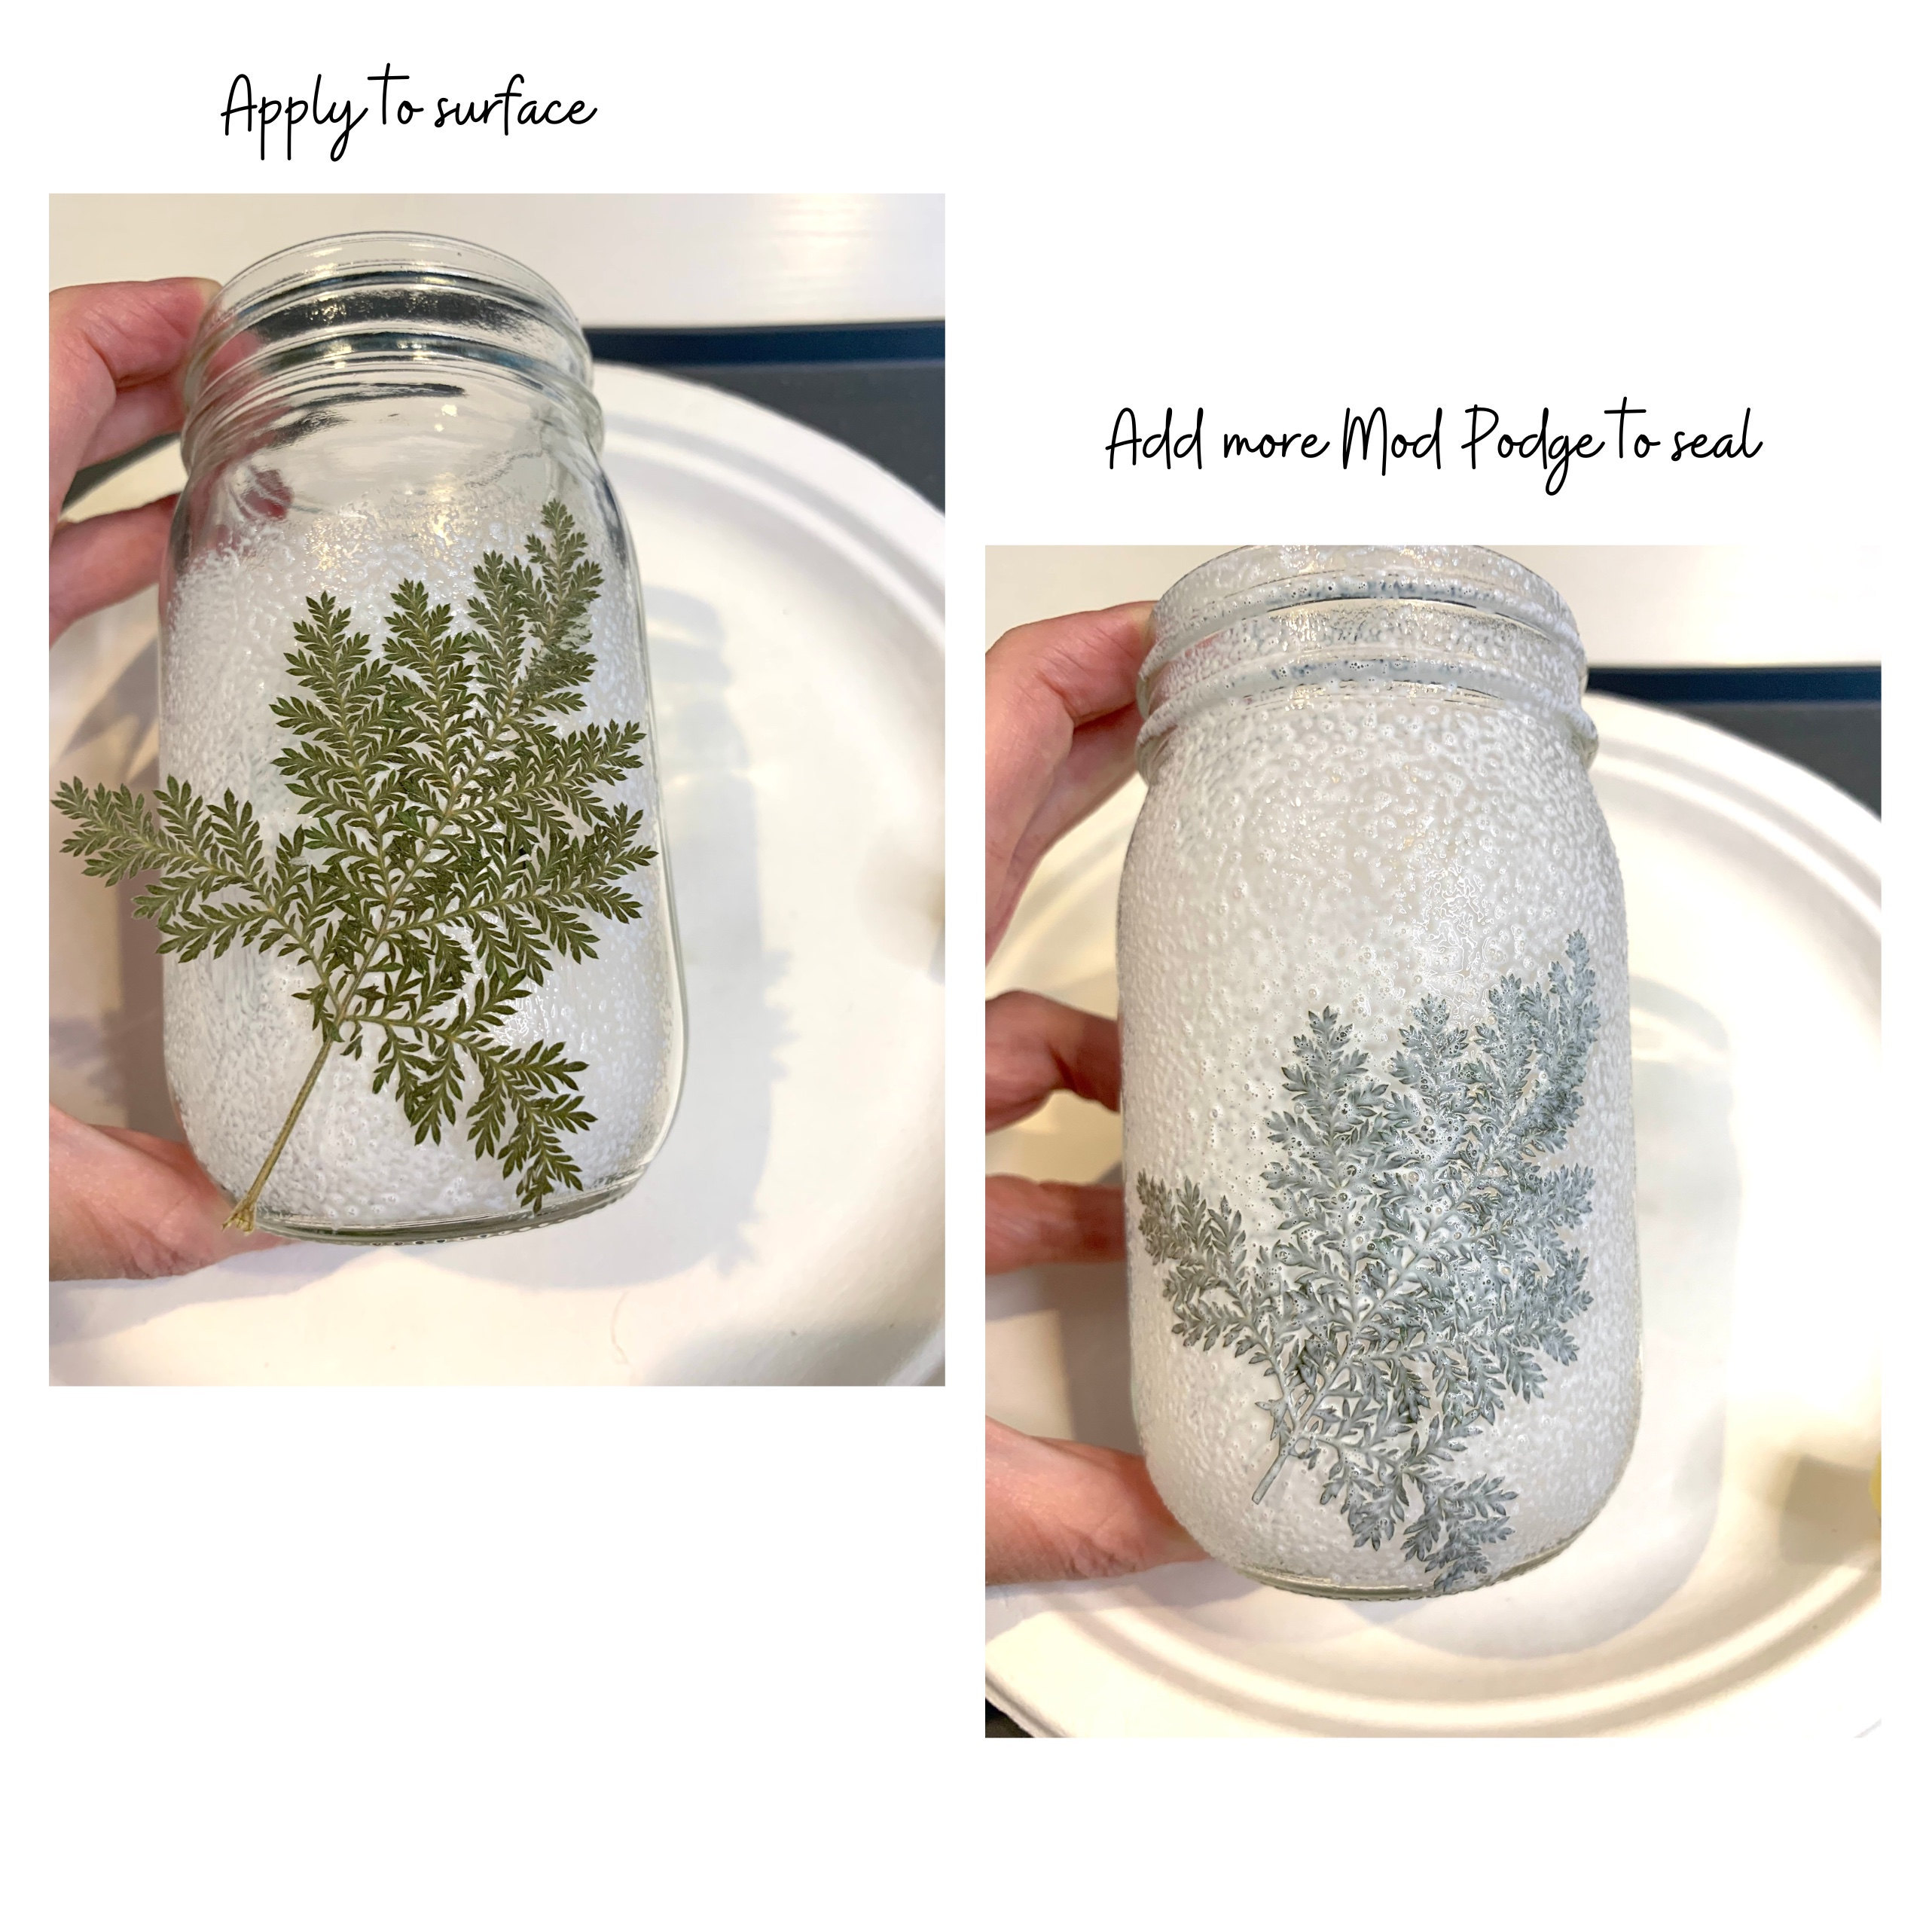
3. Apply Mod Podge:Using the foam brush, apply a thin layer of Mod Podge to a small section of the jar where you plan to place your first flower. Note: In the photo below, I used a stippling method to apply Mod Podge, as I wanted to create a seeded glass effect. Experiment with application tools and techniques for different textures and finishes.
Gently place a pressed flower onto the coated area. Use tweezers for precise placement. Once positioned, carefully apply another thin layer of Mod Podge over the flower to seal it.
5. Continue the Process:
Repeat steps 3 and 4, working in small sections until you've covered the jar with your desired design. To achieve a consistent finish, apply Mod Podge over the entire glass surface.
6. Final Seal:After all flowers are applied and the initial coating is dry, apply a final thin layer of Mod Podge over the entire jar to ensure all elements are securely sealed.
7. Drying:Allow the jar to dry completely. Drying times may vary depending on the environment and the thickness of the Mod Podge layers.
8. Optional Decoration:Once dry, you can embellish the rim of the jar with twine or ribbon for an added rustic touch.
9. Add a Candle:Place a tealight or votive candle inside the jar. For safety and longevity, consider using a battery-operated LED candle.
This pressed flower candle holder not only serves as a beautiful piece of decor but also makes for a heartfelt handmade gift.
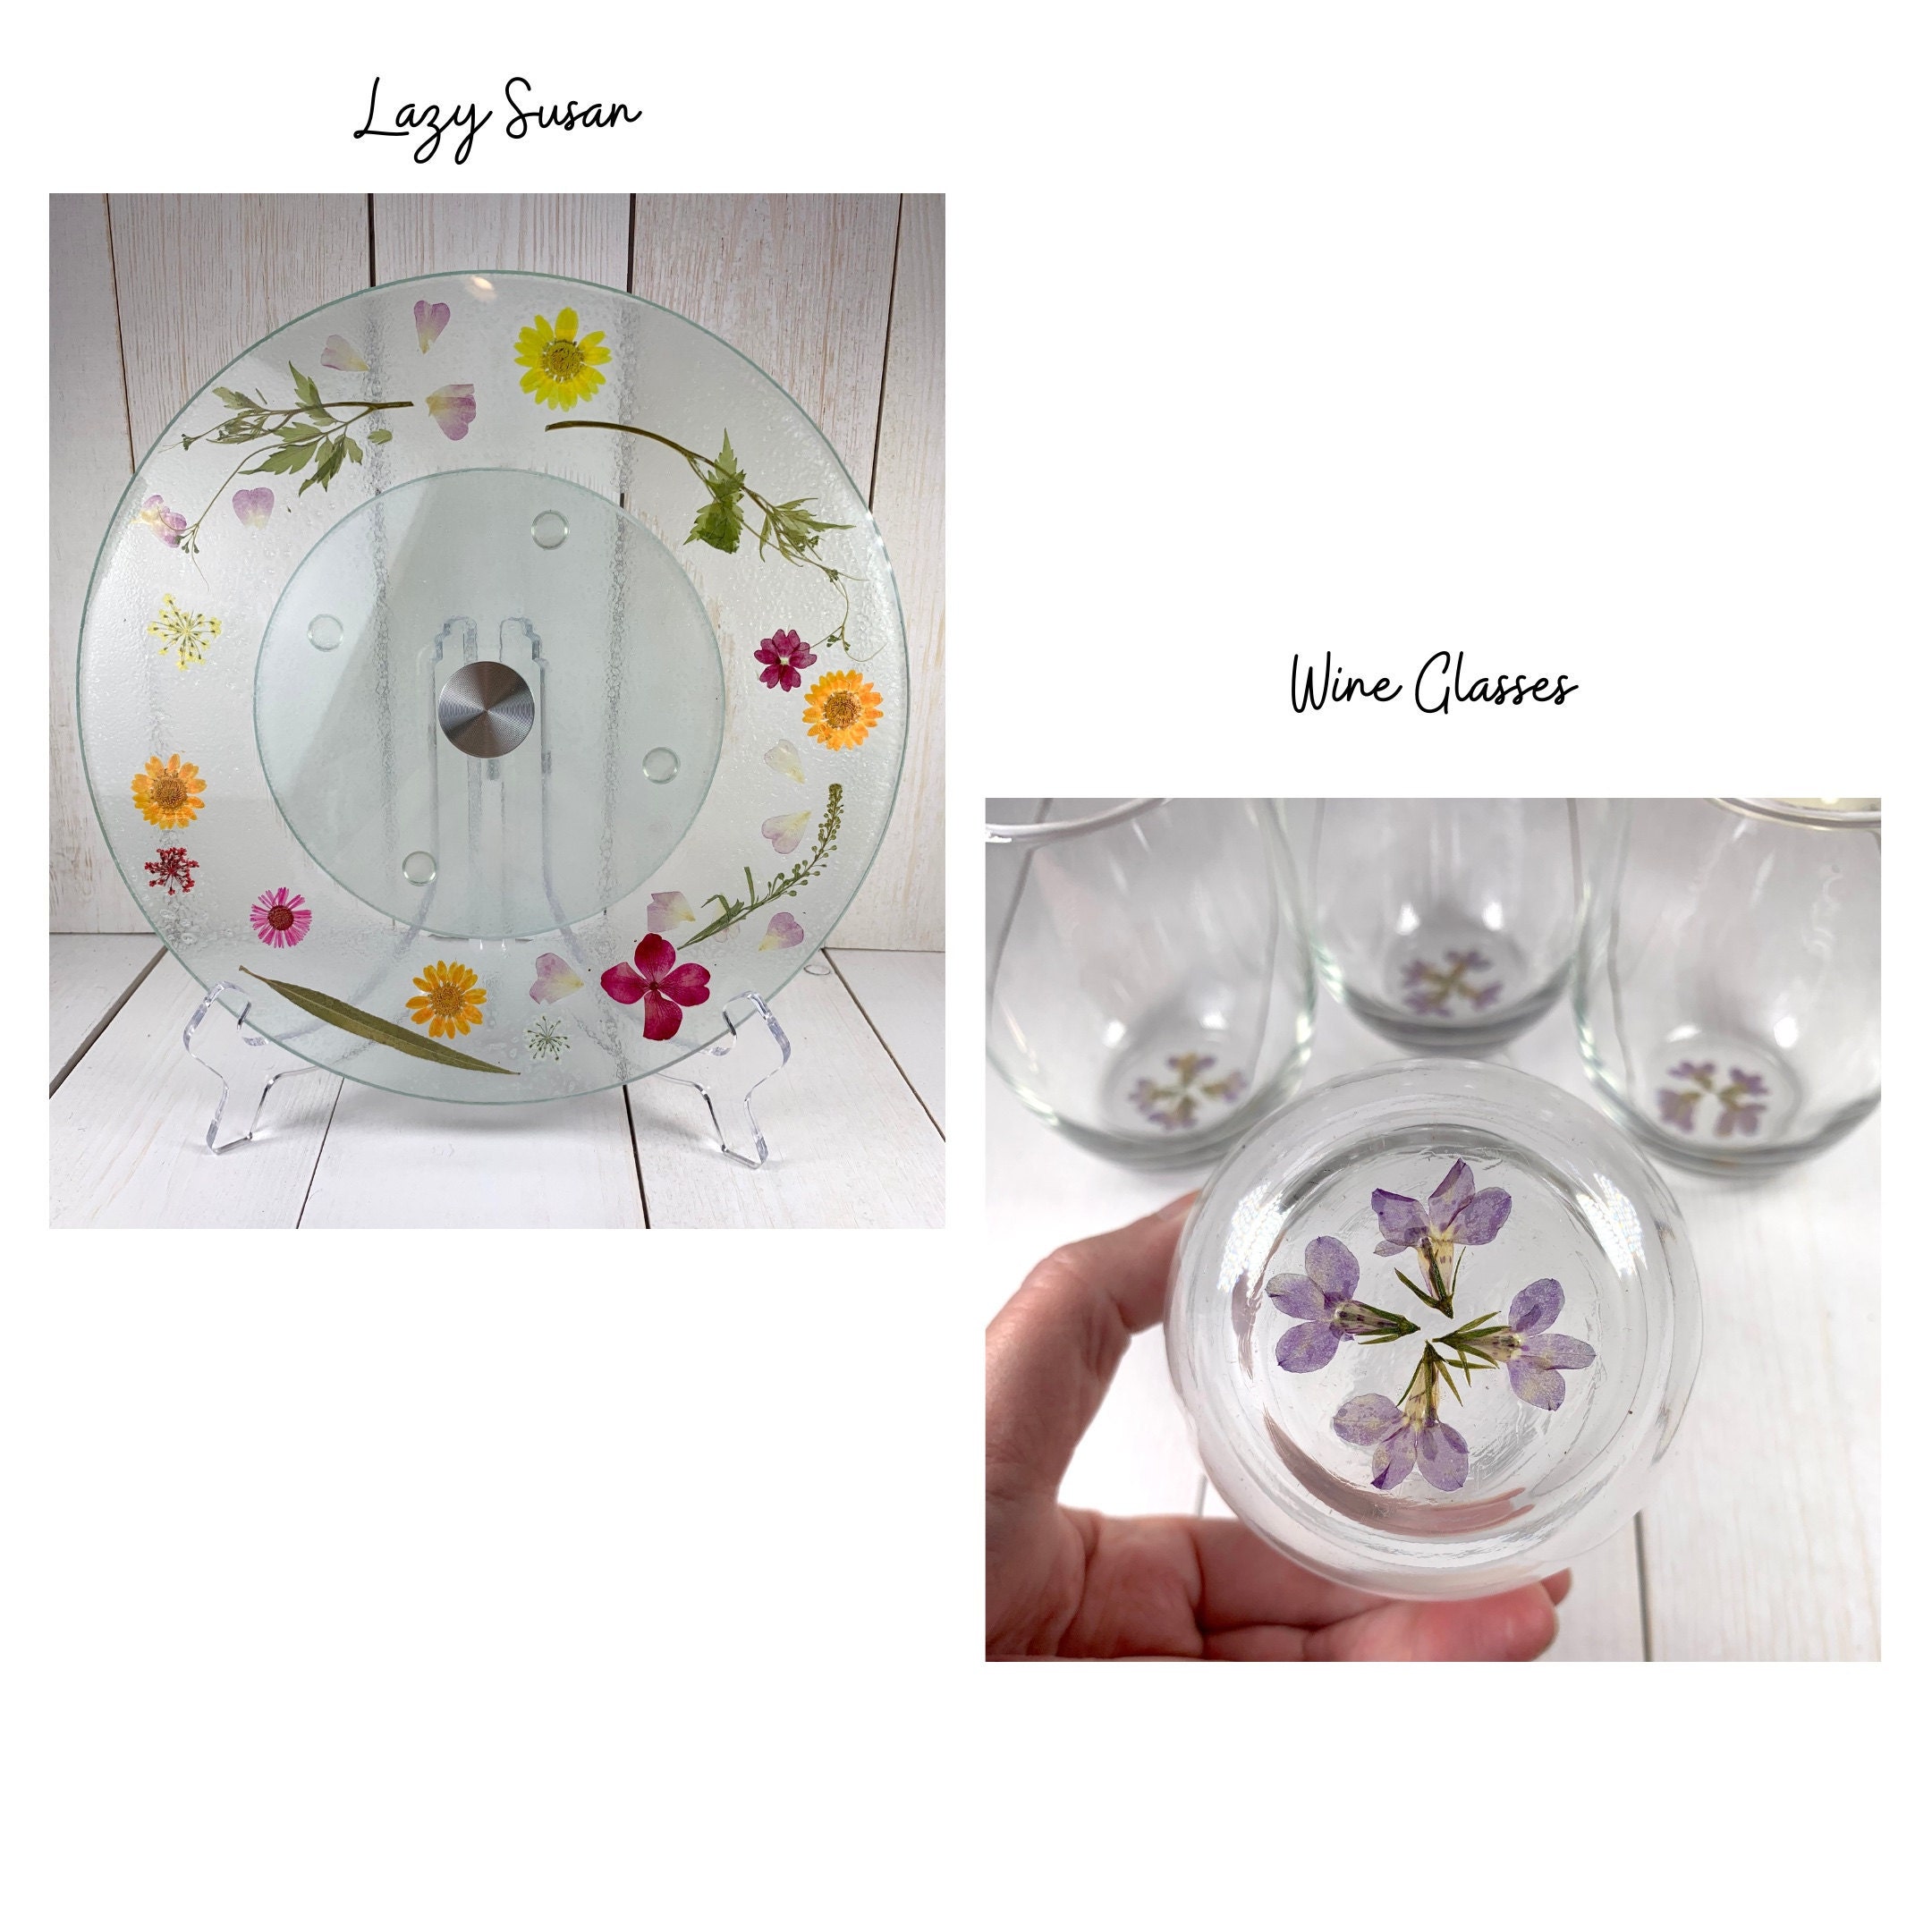
Oh, and by the way—this technique isn’t just for candle holders! See the photos below of my dried flower lazy susan (sealed with satin Mod Podge) and dried flower wine glasses (sealed with dishwasher-safe Mod Podge). Be sure to explore the different Mod Podge formulas and choose the one that best suits your project!