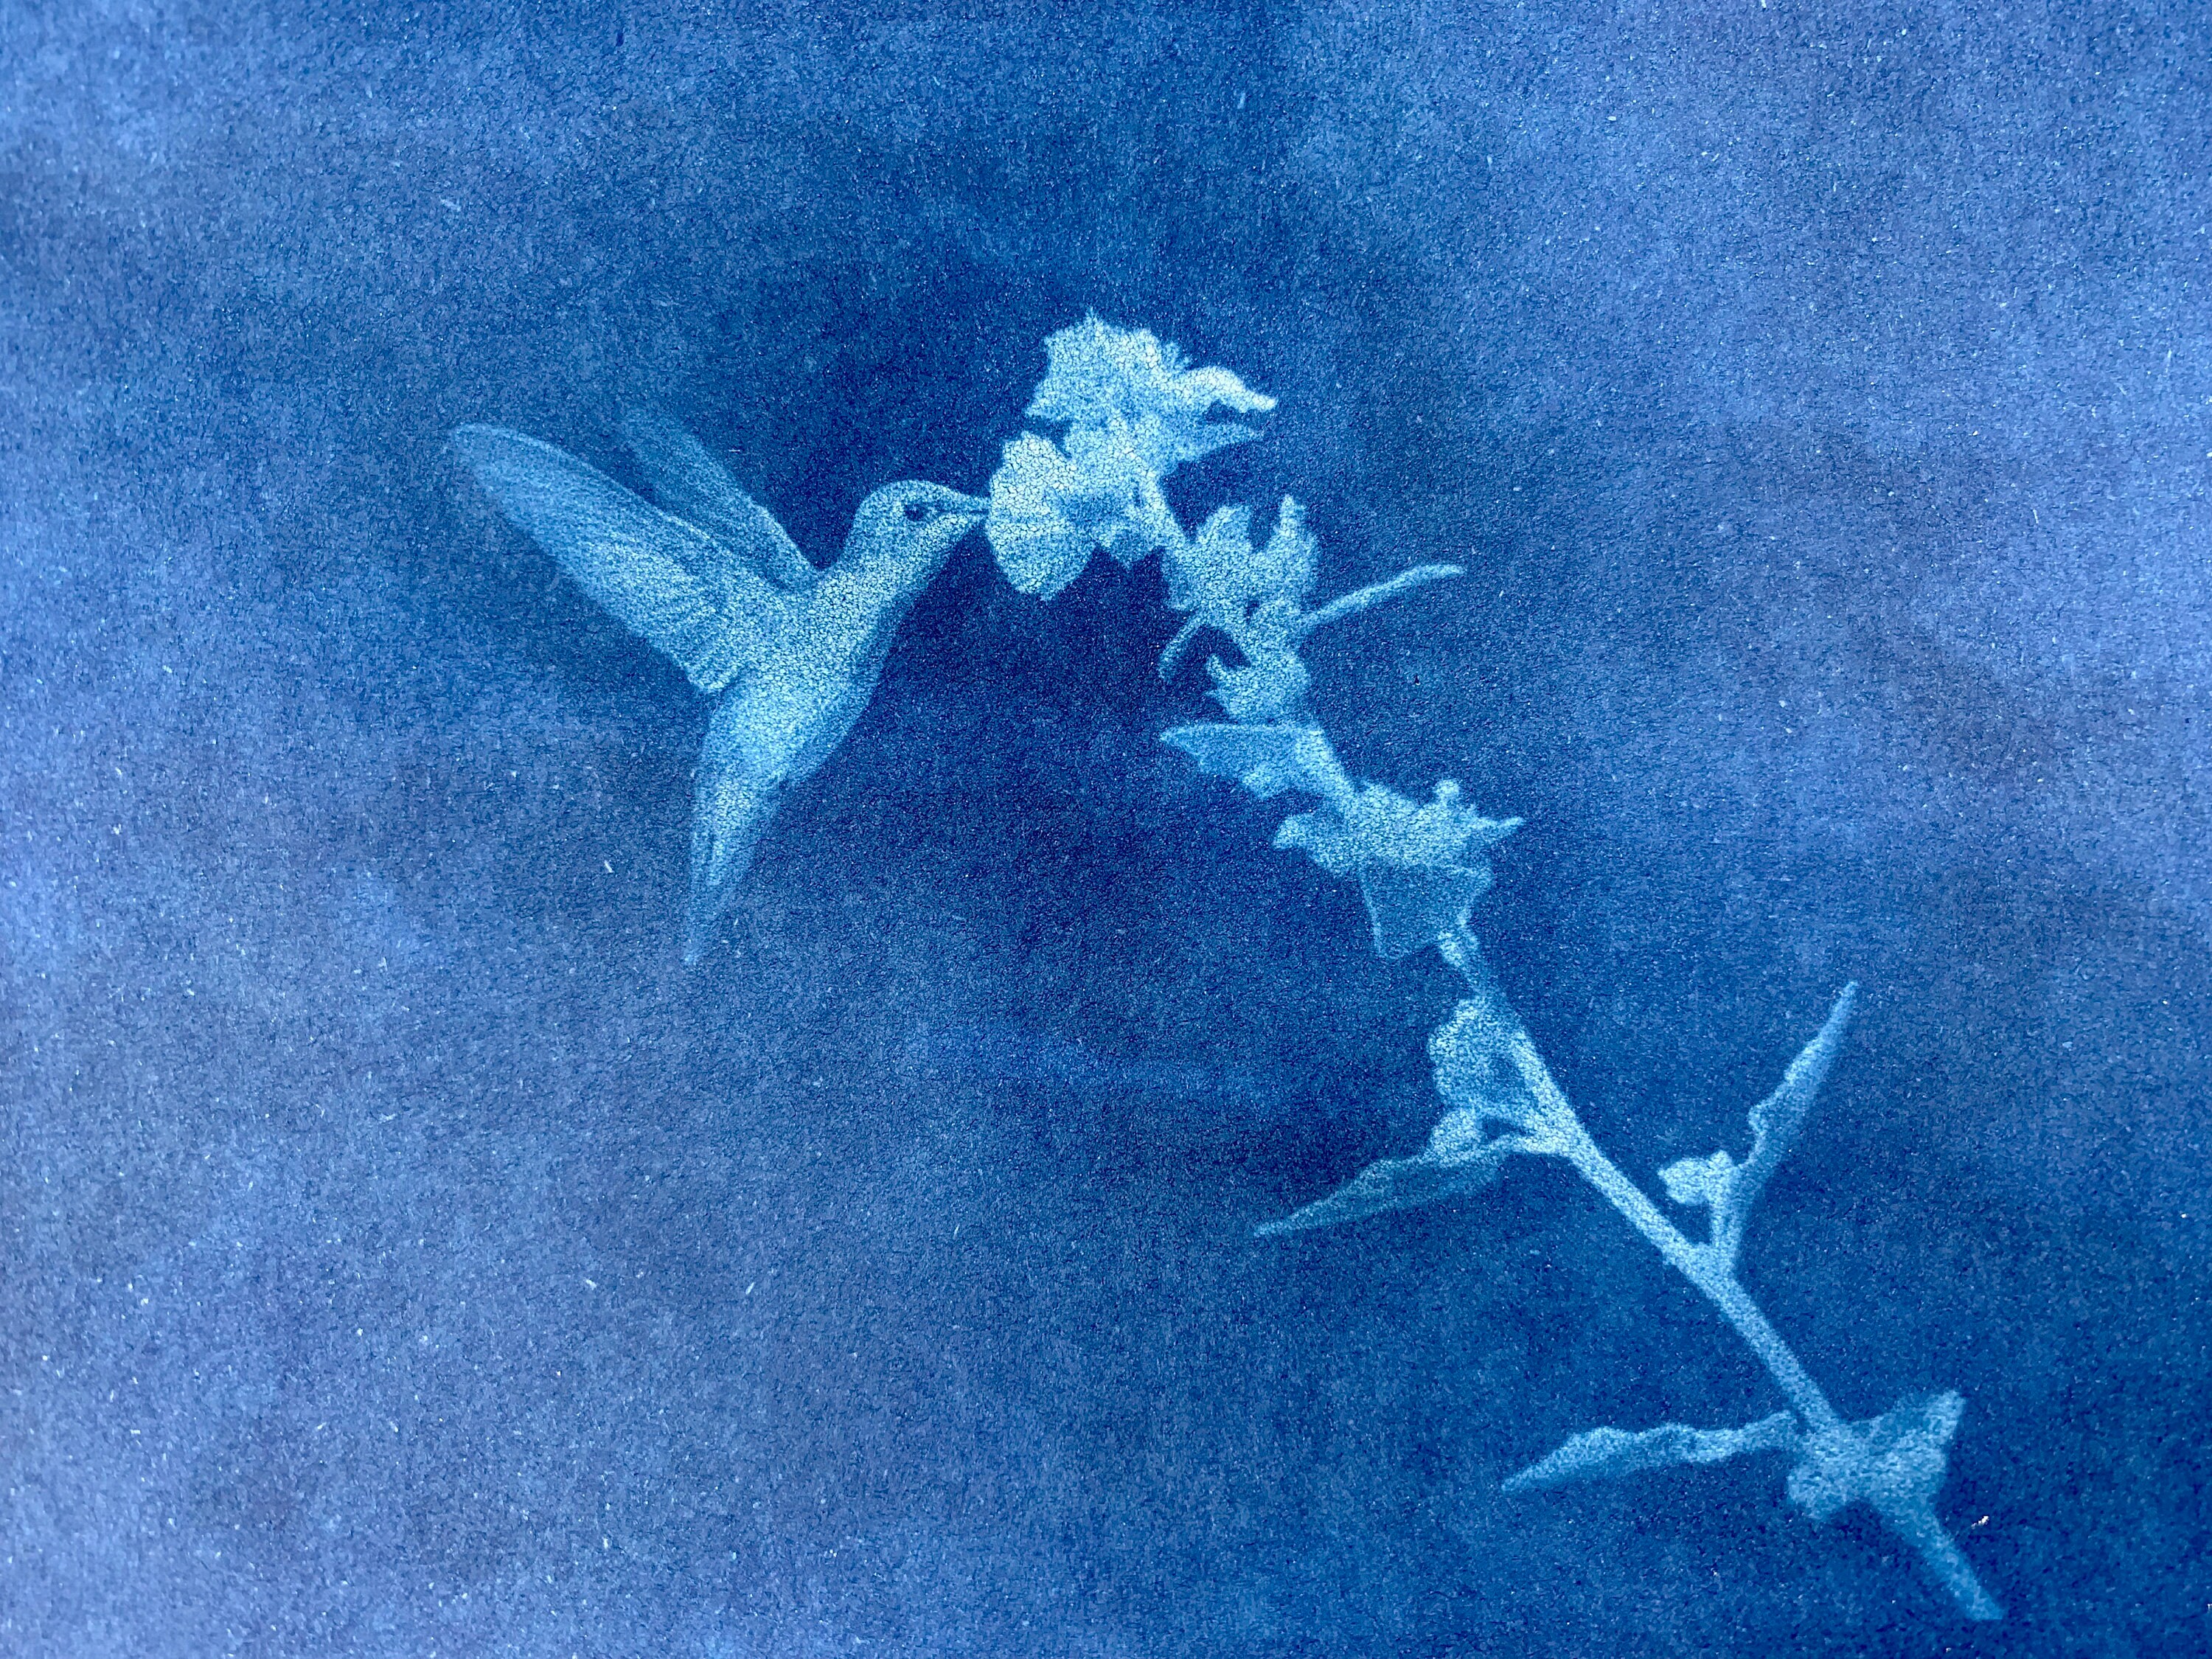
Continuing our exploration of cyanotype printing from several weeks ago, we’re taking a different approach in this tutorial—using stencils instead of botanical materials to create unique designs. This method opens up a whole new realm of possibilities for making detailed, repeatable prints.
What You’ll Need:
- Printer – For printing your custom stencil designs.
- Transparency Sheets – Compatible with your printer (inkjet or laser).
- Photo Editing Software – I used Canva, but Photoshop or similar tools work as well.
- Cyanotype Paper – Pre-treated and ready for exposure.
- Pane of Glass or Acrylic (Optional) – Helps press the stencil firmly against the paper for crisper prints.
- Light Source – Direct sunlight or a UV lamp.
Creating Your Stencil for Cyanotype Printing
Rather than using pre-made stencils, I designed my own using transparency sheets and printed images. Here’s how you can make your own:
1. Select & Edit Your Image
- I used Canva to browse black-and-white photographs with strong contrast.
- Once I found an image I liked, I applied effects to manipulate the image to create a high-contrast negative of sorts, allowing the stencil to block UV light effectively. (More on this below.)
- If you’re using another photo-editing program, adjust the brightness and contrast or invert the colors to achieve a similar effect.
Note: When creating cyanotype prints using photos or digital designs, it’s important to ensure you have the right to use the images. Always use photos you’ve taken yourself, images that are in the public domain, or designs you’ve purchased or obtained permission to use. If you’re using Canva, the platform offers a wide selection of images, including free and Pro content that is safe to use for creative projects. However, be mindful that some images on Canva may be licensed for limited uses, so it’s always a good idea to check the usage rights before incorporating them into commercial work. When in doubt, opt for royalty-free image sources, purchase stock images with the appropriate license, or create your own designs to ensure you're respecting copyright laws while bringing your creative vision to life.
2. Print Your Stencil
- Load a transparency sheet into your printer, ensuring it’s compatible with your inkjet or laser printer.
- Print at the highest quality setting for deep, solid blacks, which will best block UV light and create clear prints. If you're looking for a more distressed print, try printing with your default settings.
Experimenting with Different Print Styles & Image Editing
By adjusting your print quality settings and using different editing techniques, you can influence the final aesthetic of your cyanotype prints—whether you want a gritty, artistic effect or a clean, photographic look.
I tested two different approaches:
Artistic Style Print
For this approach, I wanted an abstract and distressed look—something that could be used for greeting cards, scrapbooking, or background paper.
- In Canva, I used the "Tracer" app for the image selected. This transformed the image to more of an abstract print with sharp contrast.
- When printing on the transparent sheet, I did NOT use the highest print quality setting.
- The lower quality print on the transparency allowed for a more textured, "crackled" result.
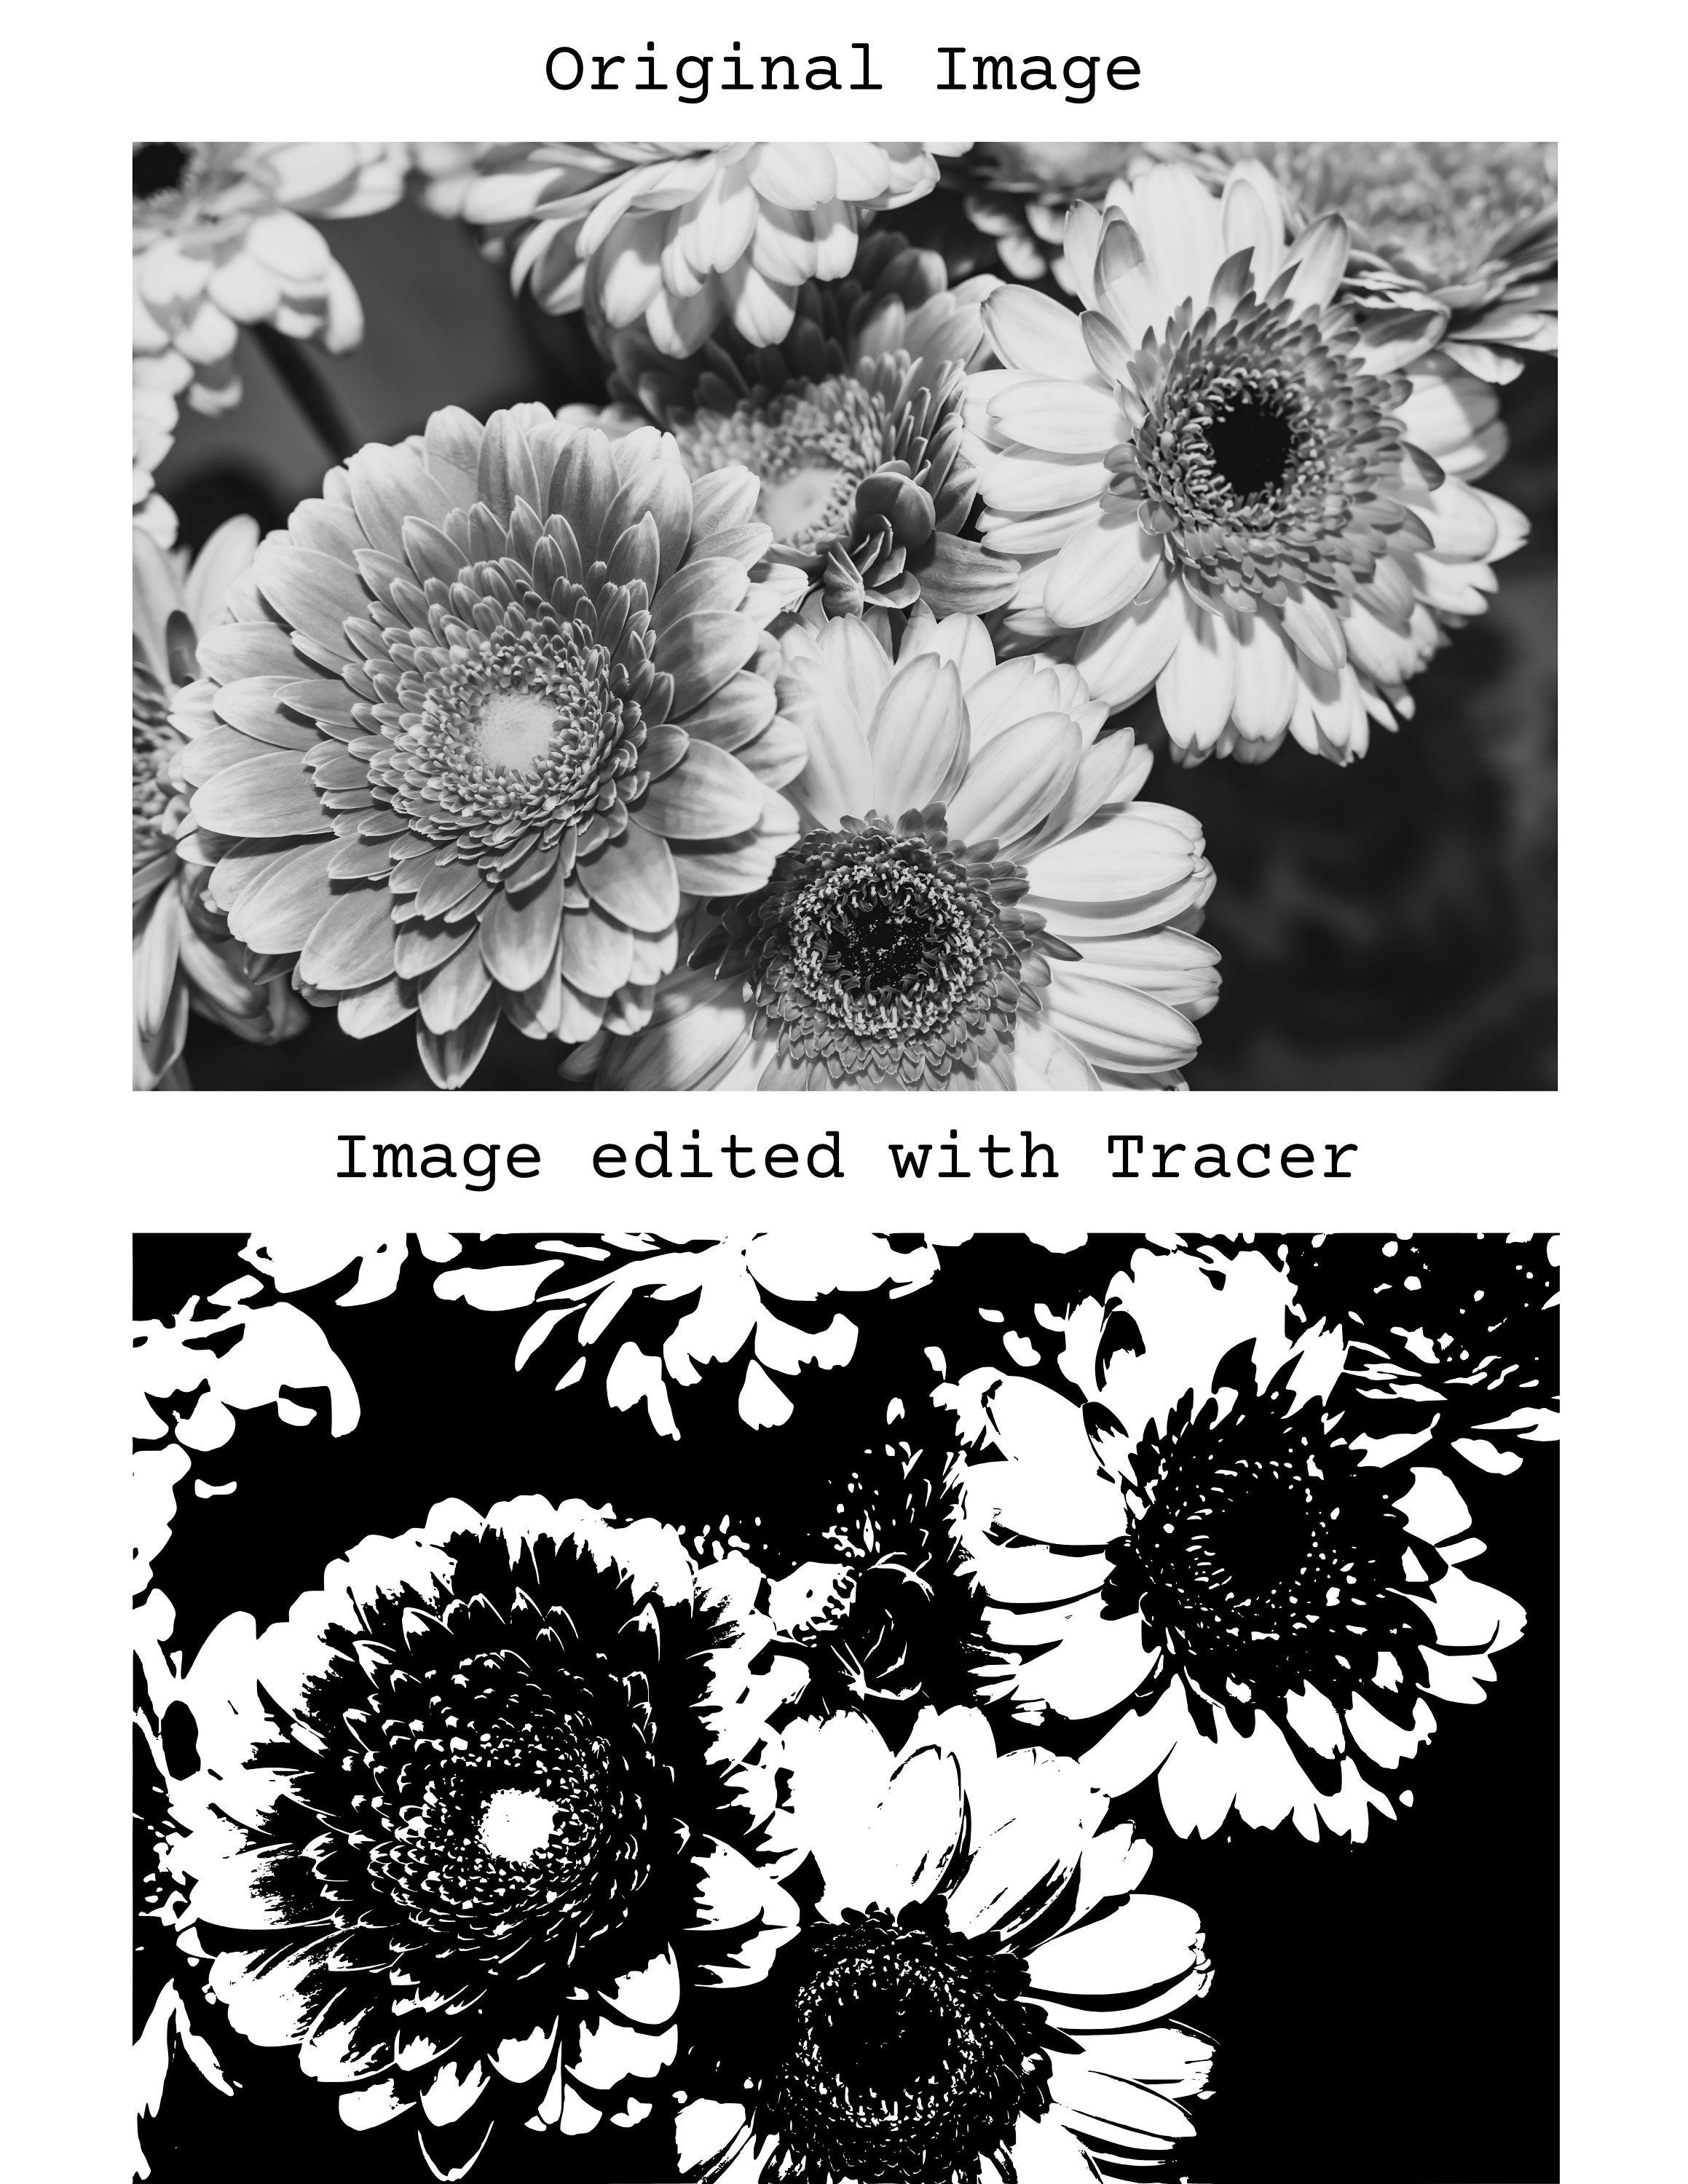
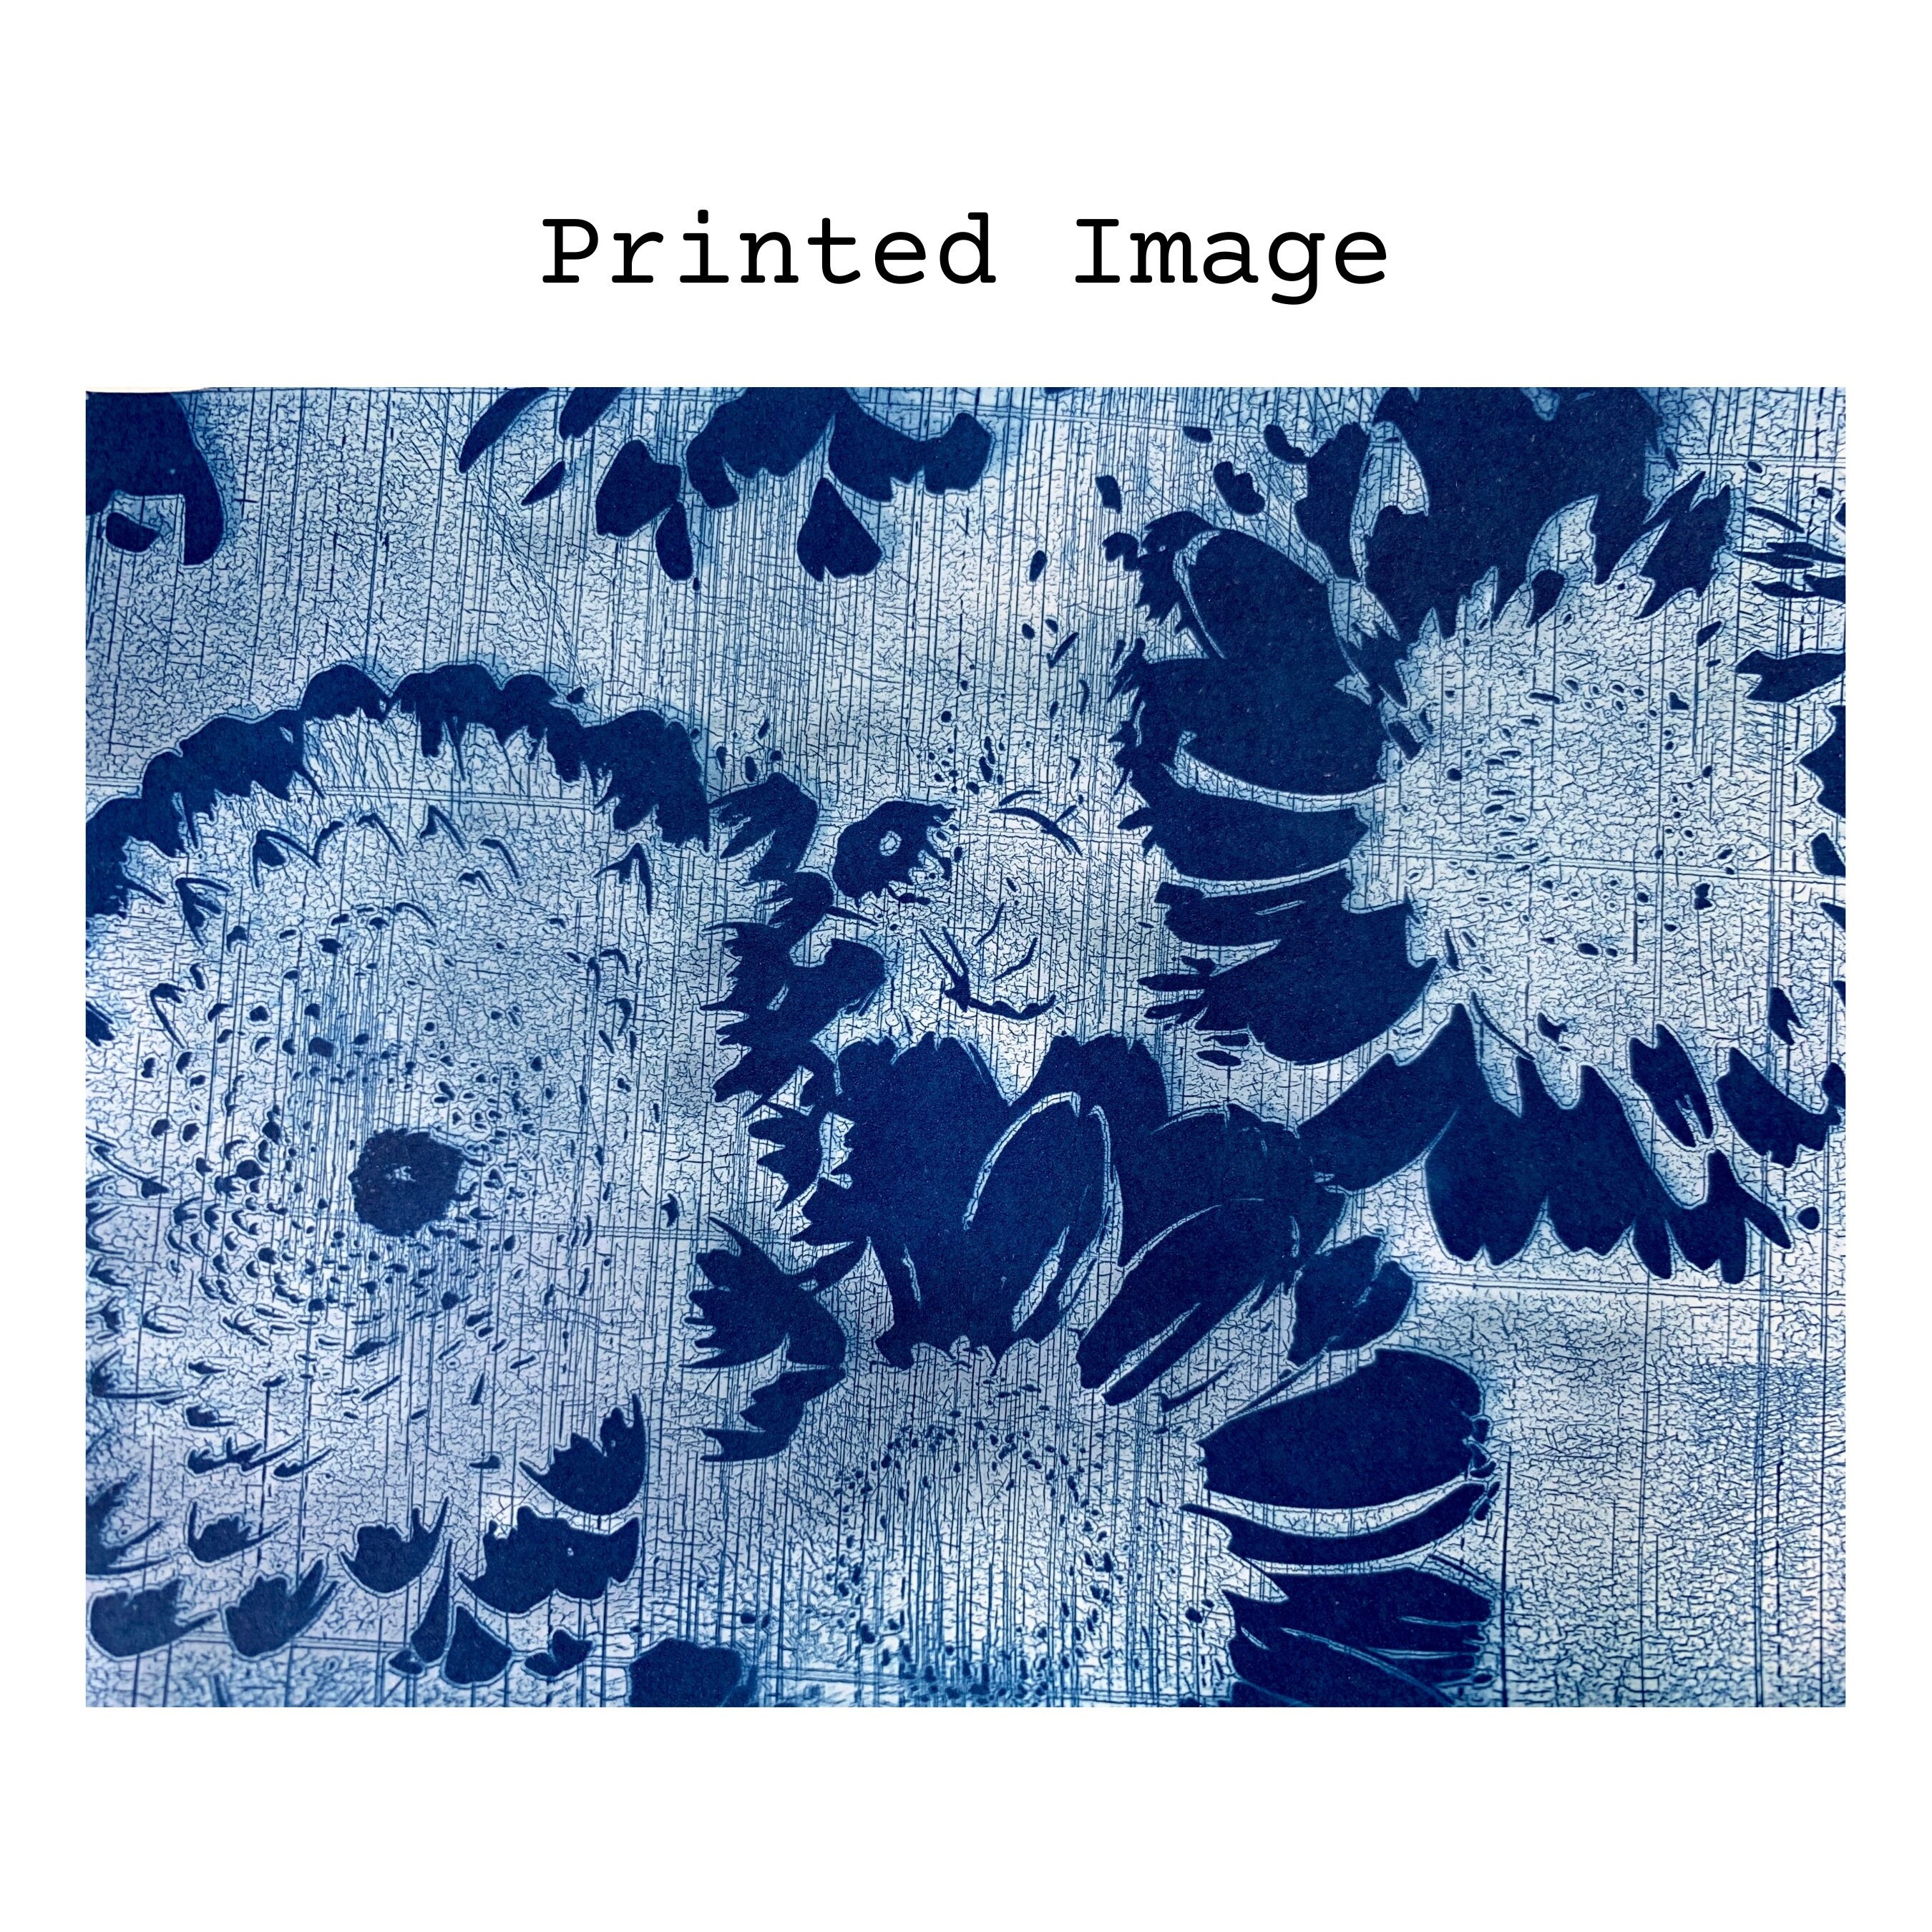
Photo-Like Cyanotype Prints
For my second experiment, I wanted to replicate the look of an actual photograph using the cyanotype process.
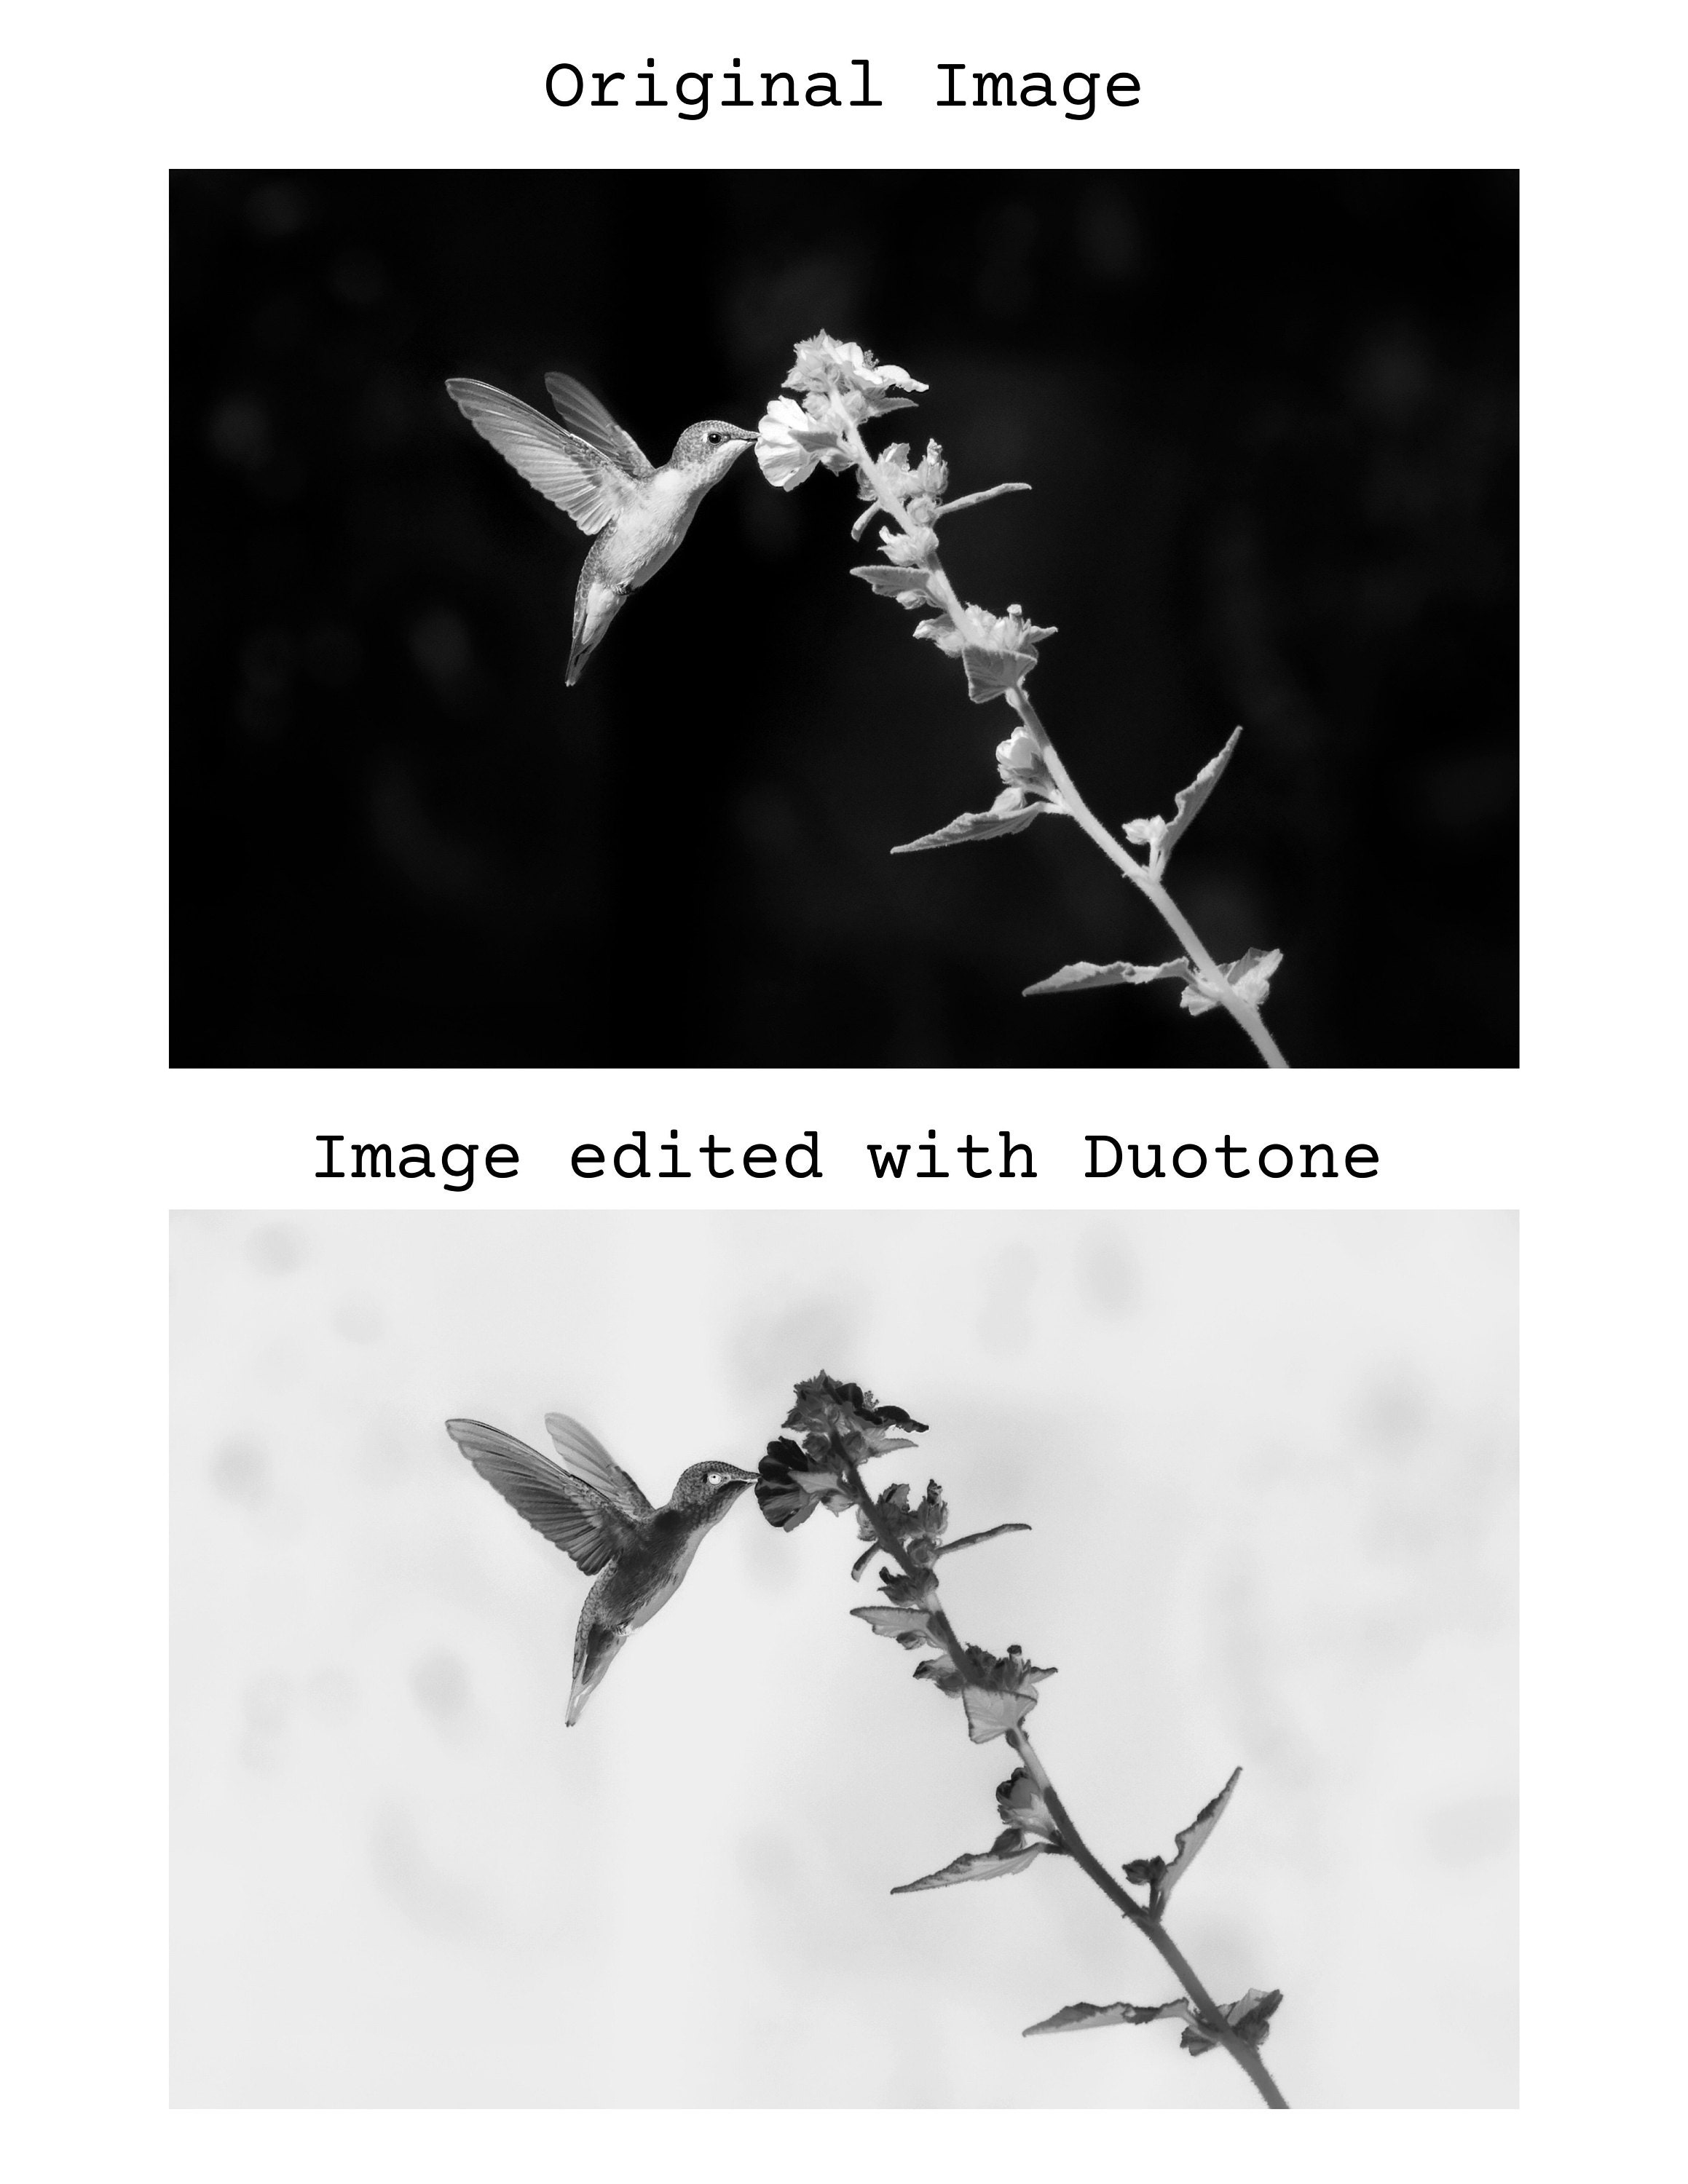
- In Canva, I used the "Duotone" effect for the image selected, choosing the "custom" option and swapping the highlights and shadows. This transformed the image to more of a photo negative.
- To capture fine details, I printed my stencil at the highest quality setting.
- The end result has an ethereal, almost ghostly vintage-inspired quality, reminiscent of early photographic processes.
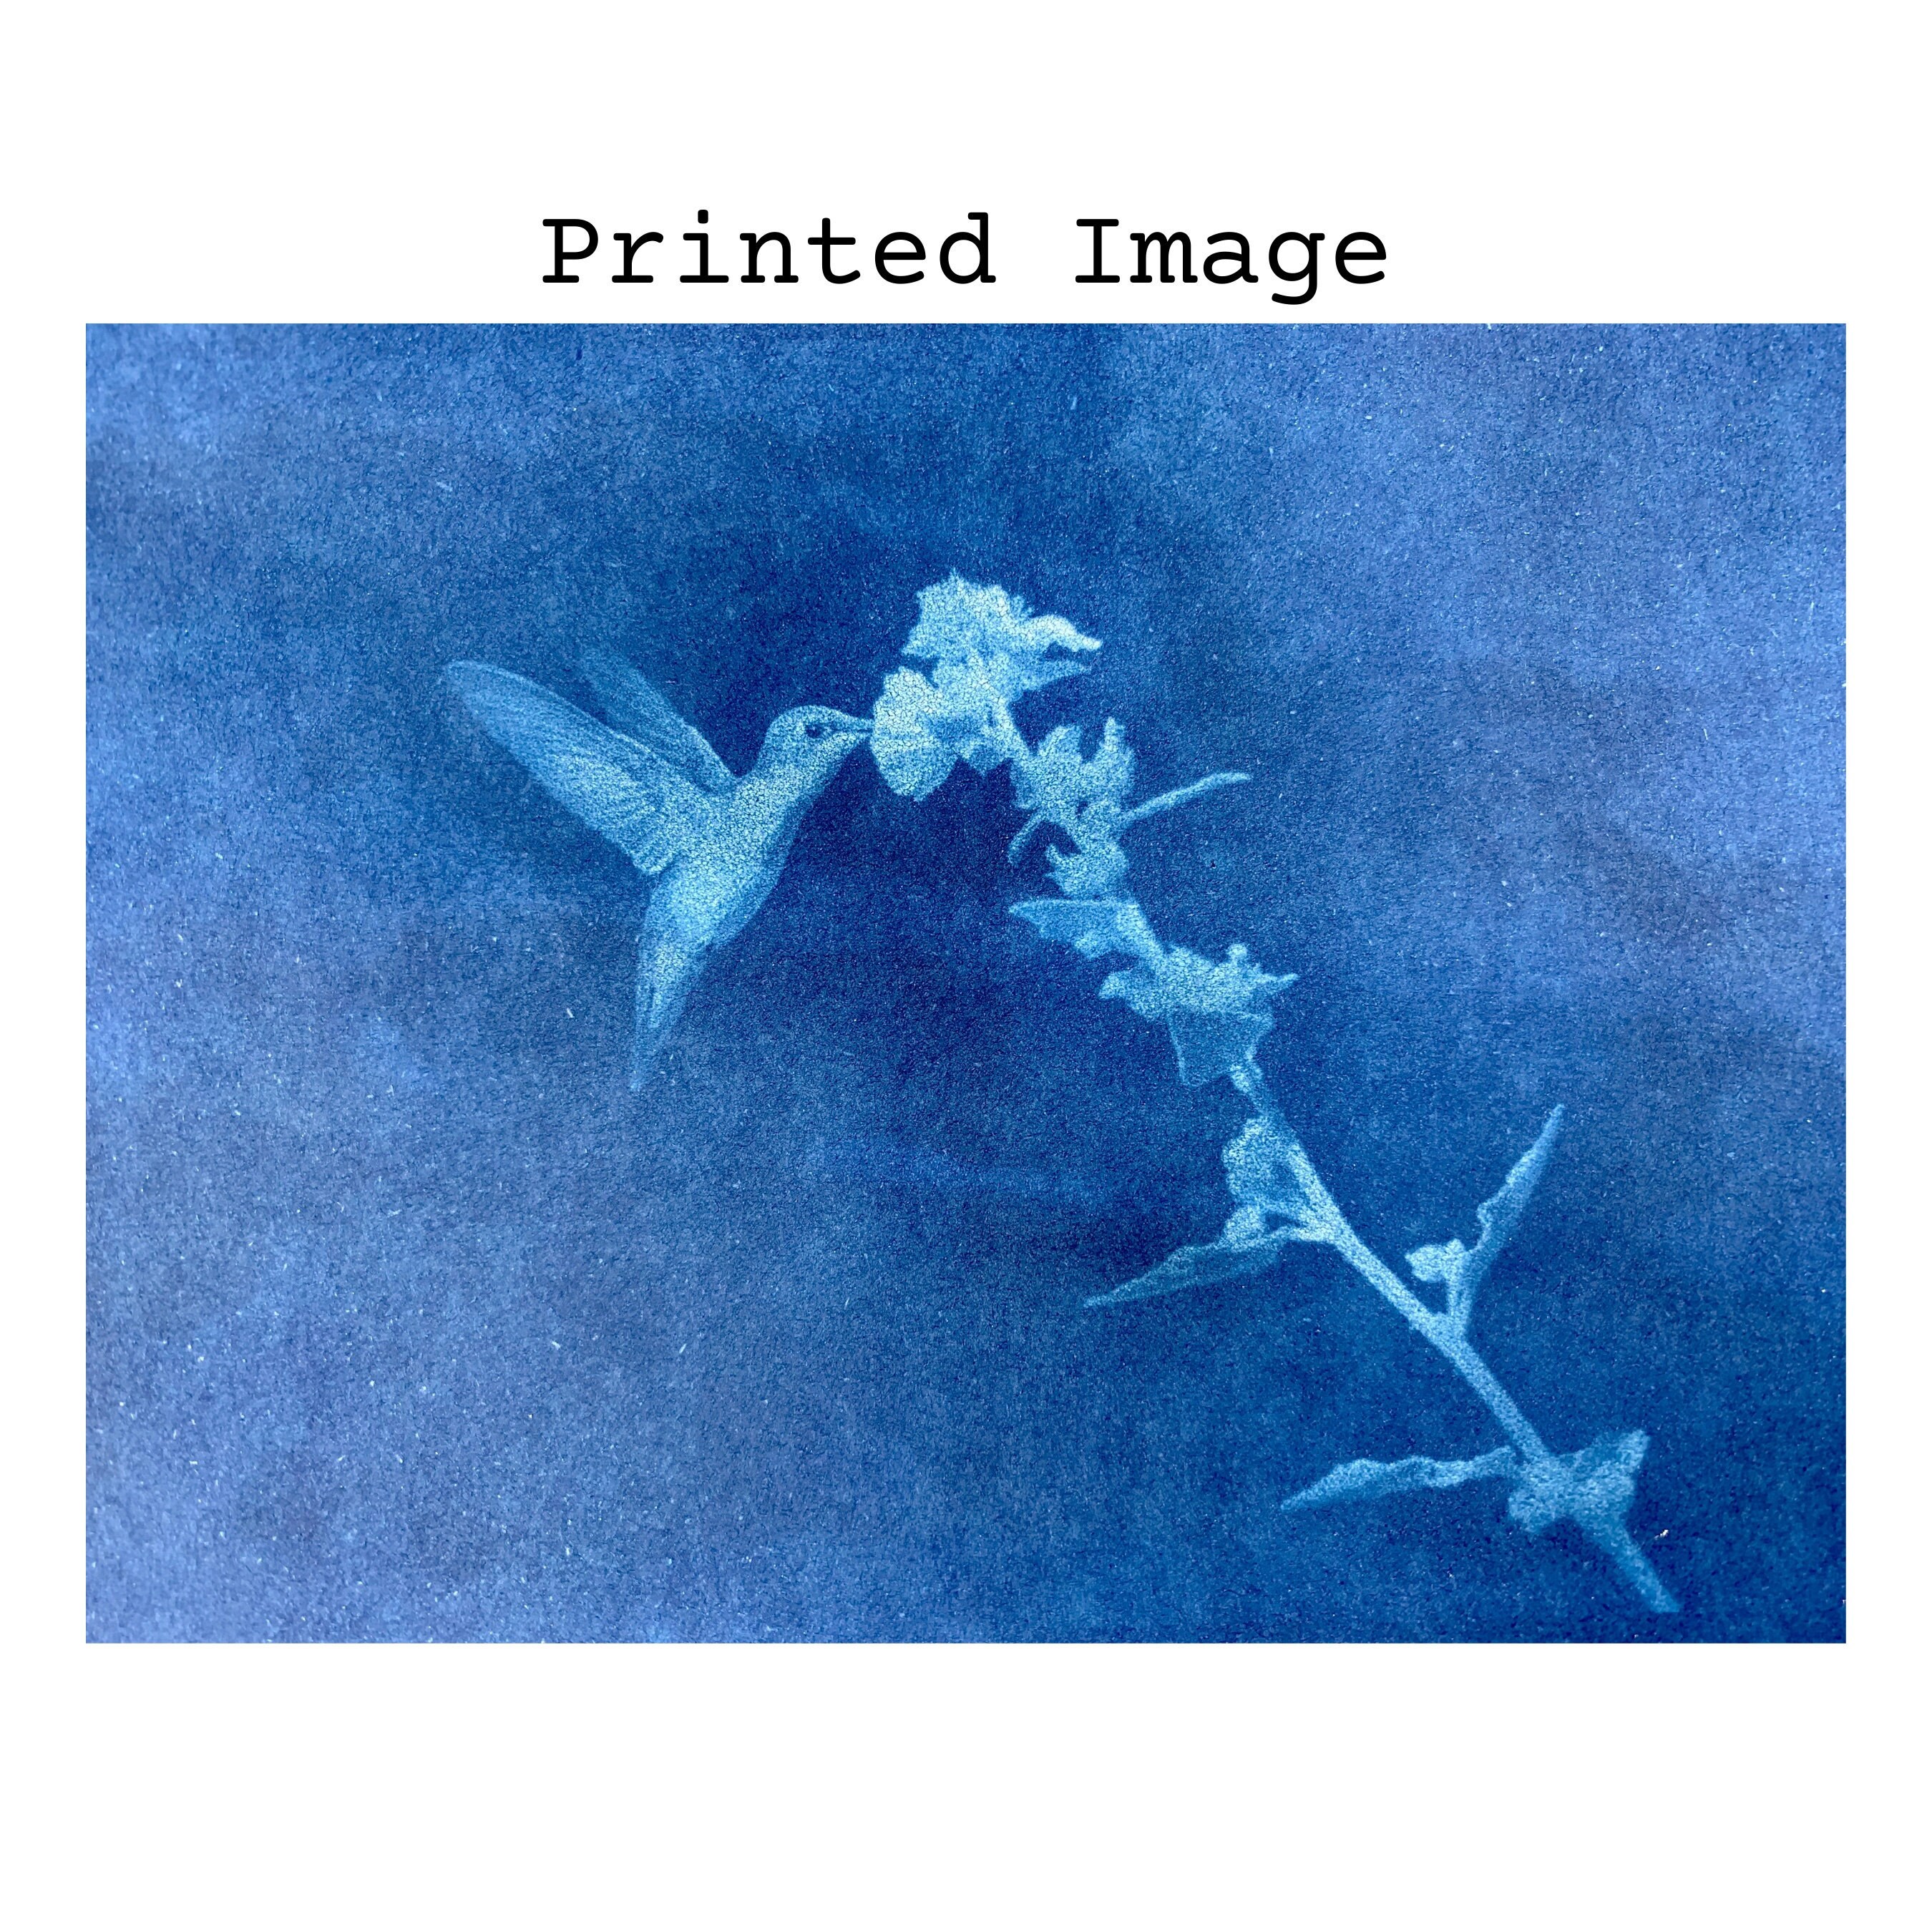
As a reminder, here is the the Cyanotype Printing Process
Once your stencil is ready, follow these steps to develop your print.
1. Prepare Your Workspace
- Gather all your materials before starting.
- Work in a dimly lit area to prevent accidental exposure of the cyanotype paper.
2. Arrange Your Materials
- Lay the cyanotype paper on a flat surface.
- Position your printed transparency stencil on top.
- If using a glass or acrylic pane, carefully place it over the stencil to press everything flat for crisp edges.
3. Expose to Sunlight
- Take the setup outside and place it in direct sunlight.
- Exposure time varies—start with 4 minutes, adjusting based on the light intensity.
- You’ll know the exposure is complete when the paper turns from its original color to a lighter shade.
4. Rinse & Reveal
- After exposure, remove the stencil and rinse the paper under running water for 1-2 minutes to wash away unexposed chemicals.
- As you rinse, the deep blue color will develop, and your design will emerge.
5. Dry & Enjoy
- Place your print on a flat surface to air dry.
- Once the print is completely dry, press the dry print in a book to flatten.
Using stencils for cyanotype printing is a fun and accessible way to create intricate, repeatable designs. Whether you prefer an aged, vintage aesthetic or a photo-realistic effect, the possibilities are endless!

