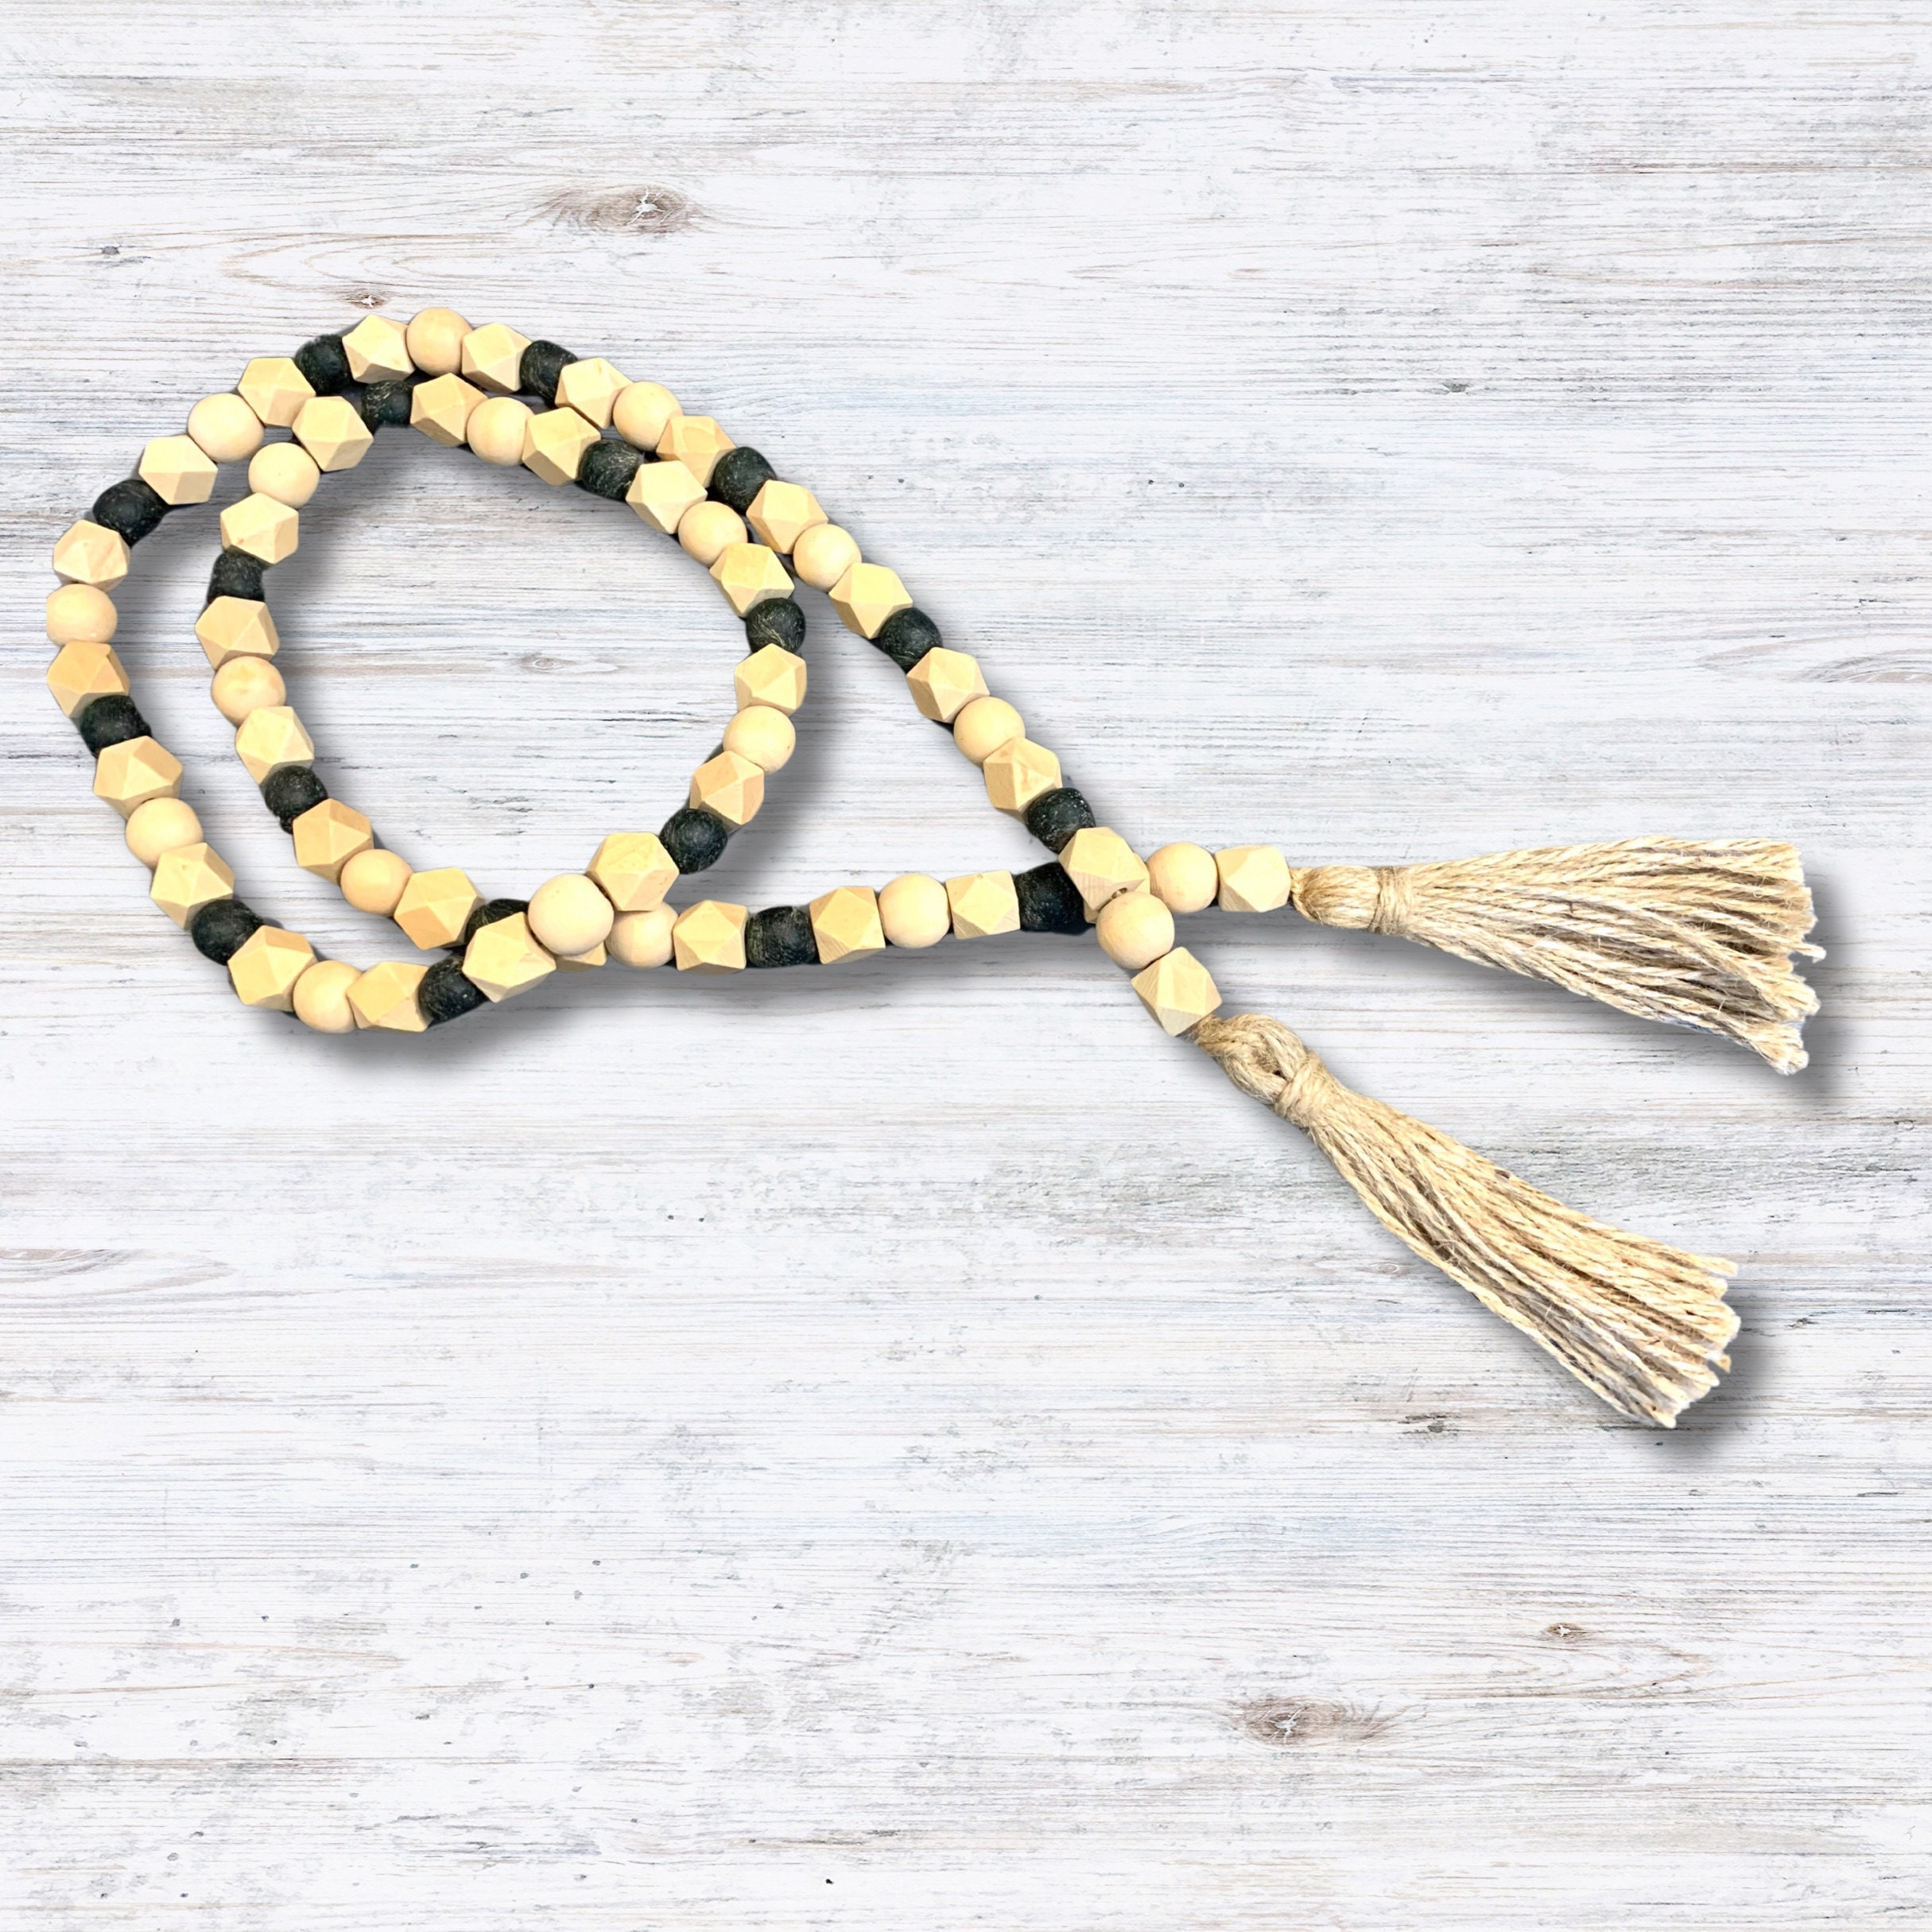
Beaded garlands are a simple yet beautiful way to add a handmade touch to your home décor. Whether draped over shelves, wrapped around vases, or styled as seasonal décor, they bring warmth and charm to any space.
Follow this step-by-step guide to create your own custom beaded garland and learn how to add extra embellishments for a unique touch.
Materials You’ll Need:
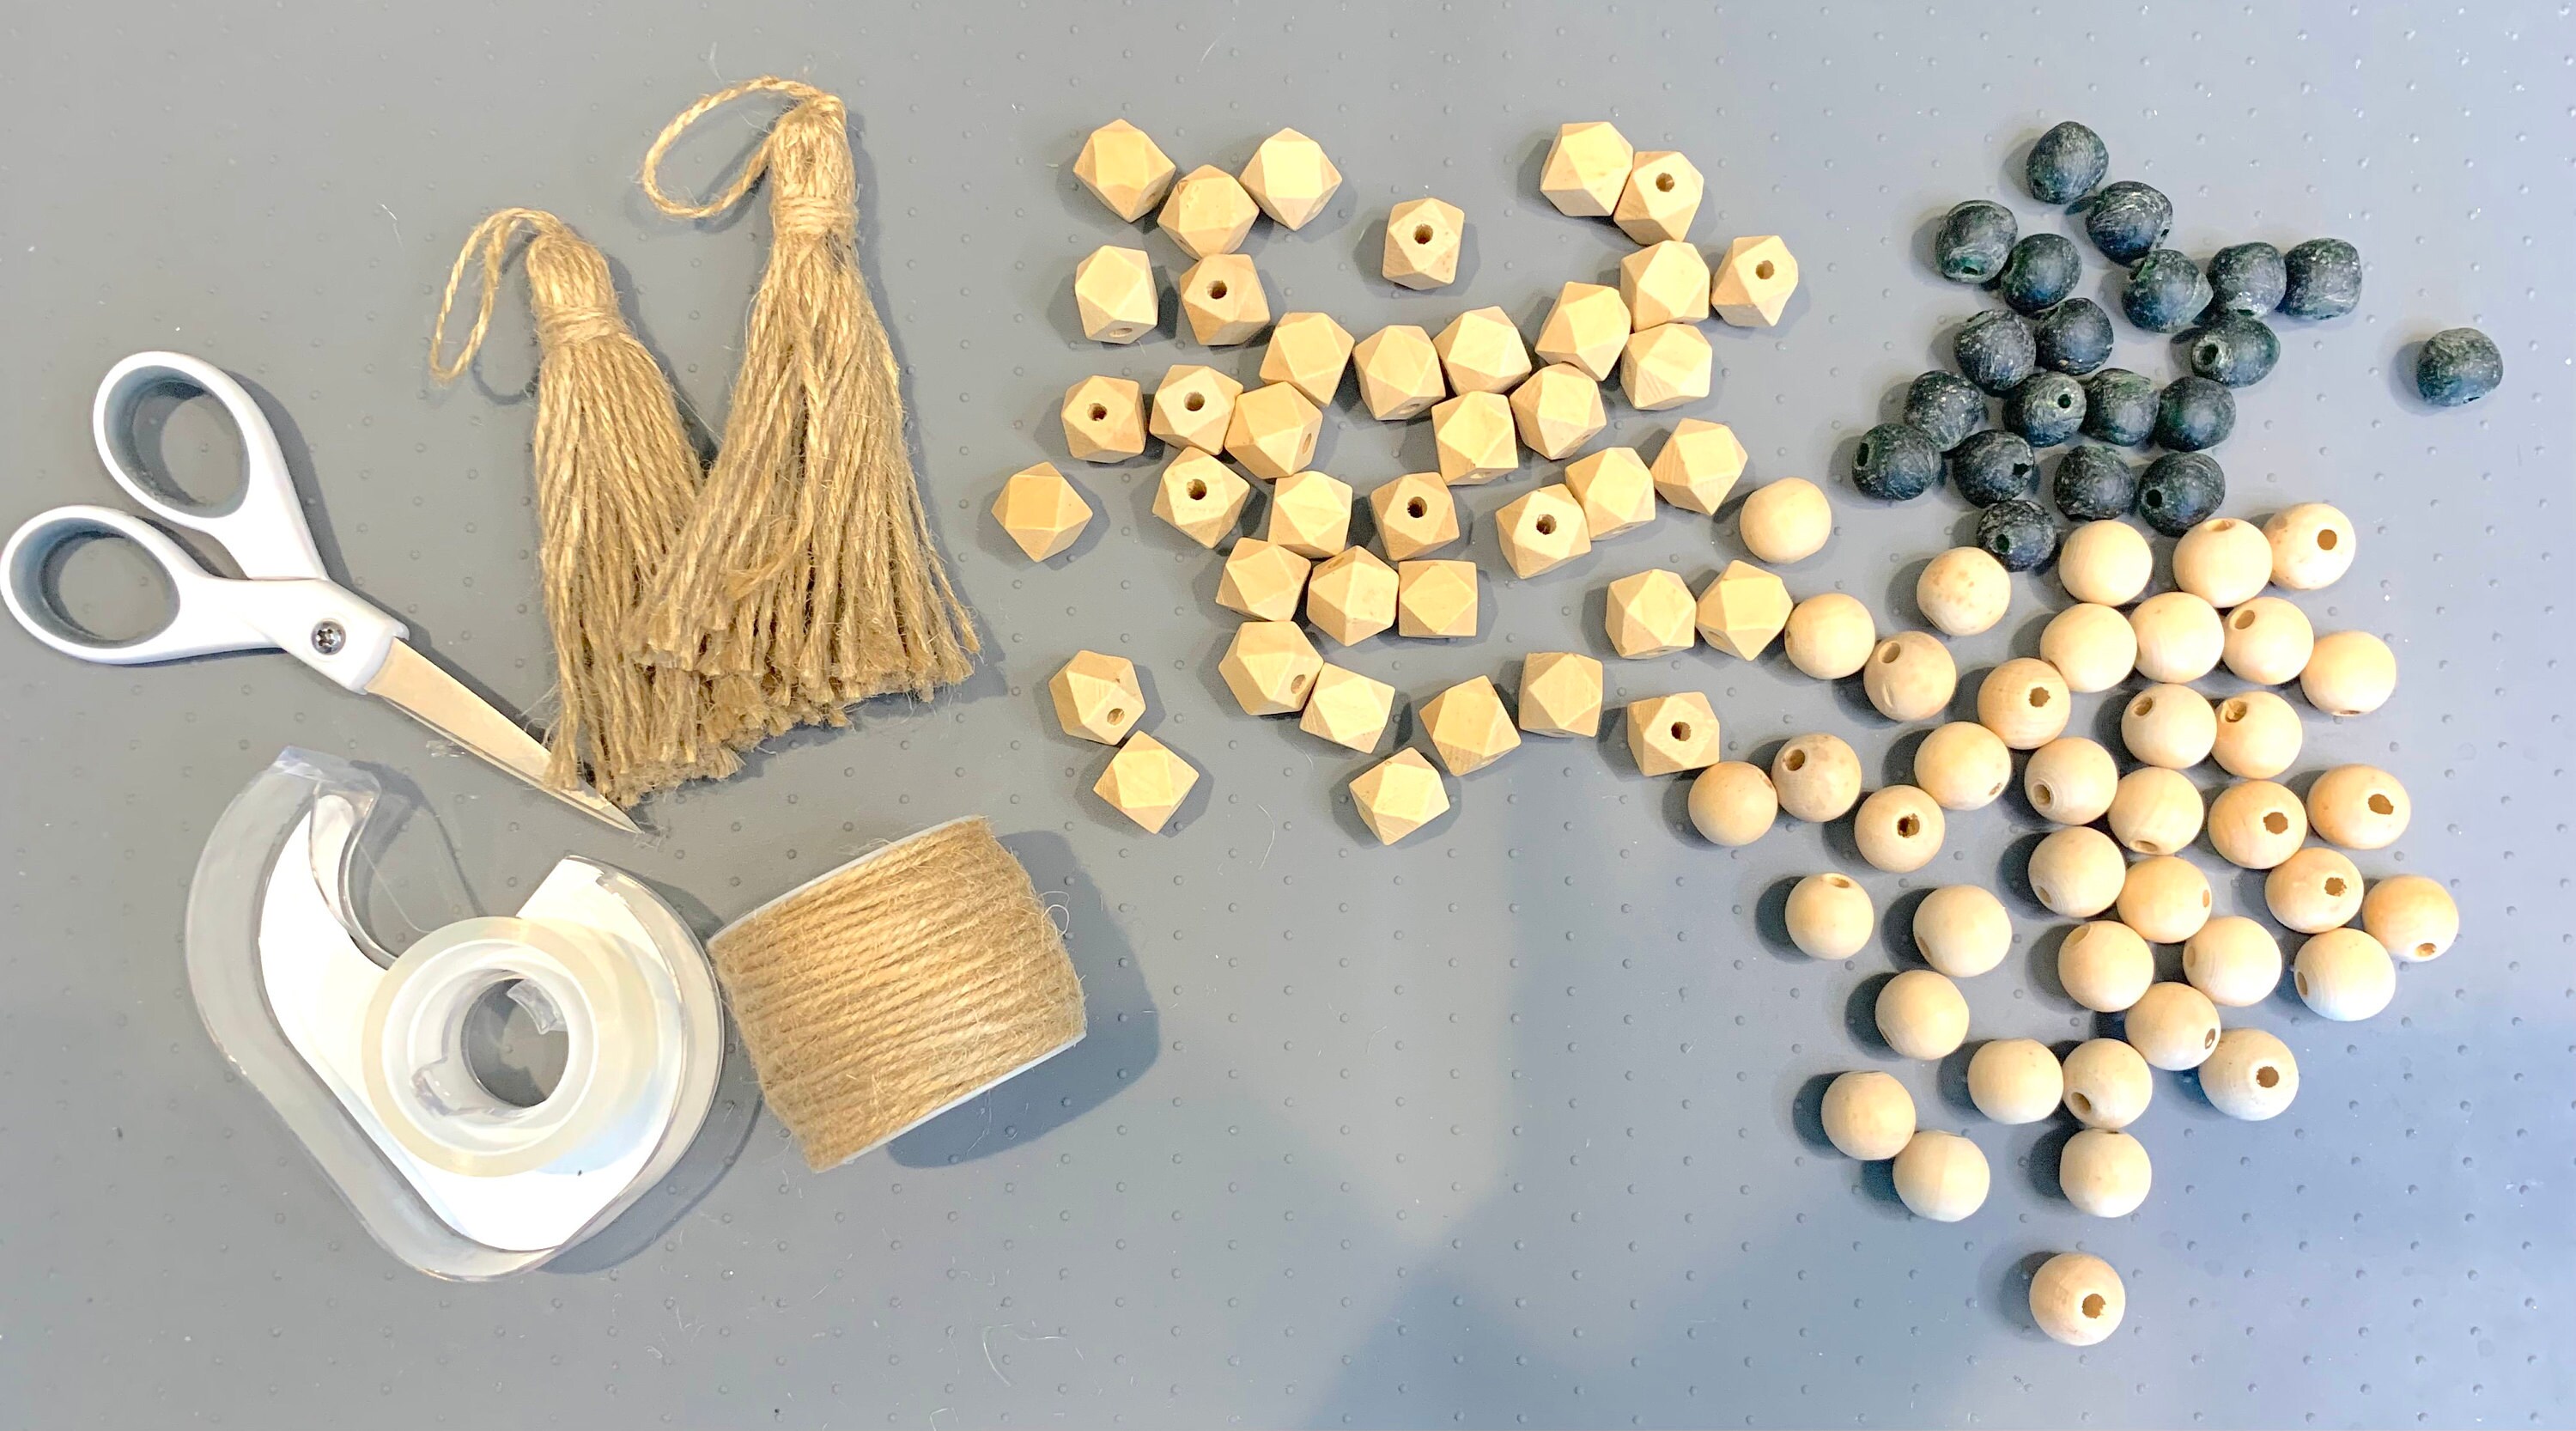
- Beads: Choose a mix of round wood beads (12-20mm), geometric wood beads, or glass/accent beads in your preferred colors. Choose beads with a hole size compatible with your stringing material.
- Twine or String: Jute twine gives a rustic look, while cotton cord or leather adds a polished touch.
- Scissors: For cutting the twine to your desired length.
- Tape: Wrapping a small piece of tape around the end of the twine makes stringing beads easier.
- Tassel Materials (optional): A piece of cardboard, and extra twine, embroidery floss, burlap, or ribbon to create tassels.
- Optional embellishments: faux greenery, fabric strips, letter beads, or wood cutouts for added personalization.
To make supply shopping easier, we have a beaded garland kit available on our site.

Step 1: Plan Your Garland
Decide on the length of your garland. You can make:
- Long garland (~5 feet) for draping on a mantel or bookshelf.
- Shorter garland (~1.5 - 3 feet) for tiered trays or coffee tables.
- Mini garland (~4 - 16 inches) to wrap around candle holders or vases, or as napkin rings.
Decide on your bead pattern before stringing the beads. Consider alternating bead shapes and colors for a balanced, eye-catching look. You can also add knots to add space between beads for added visual interest.

Step 2: Prepare Your Twine or String
- Cut your twine to the desired length, adding 4-6 inches extra on each end for knotting and attaching tassels.
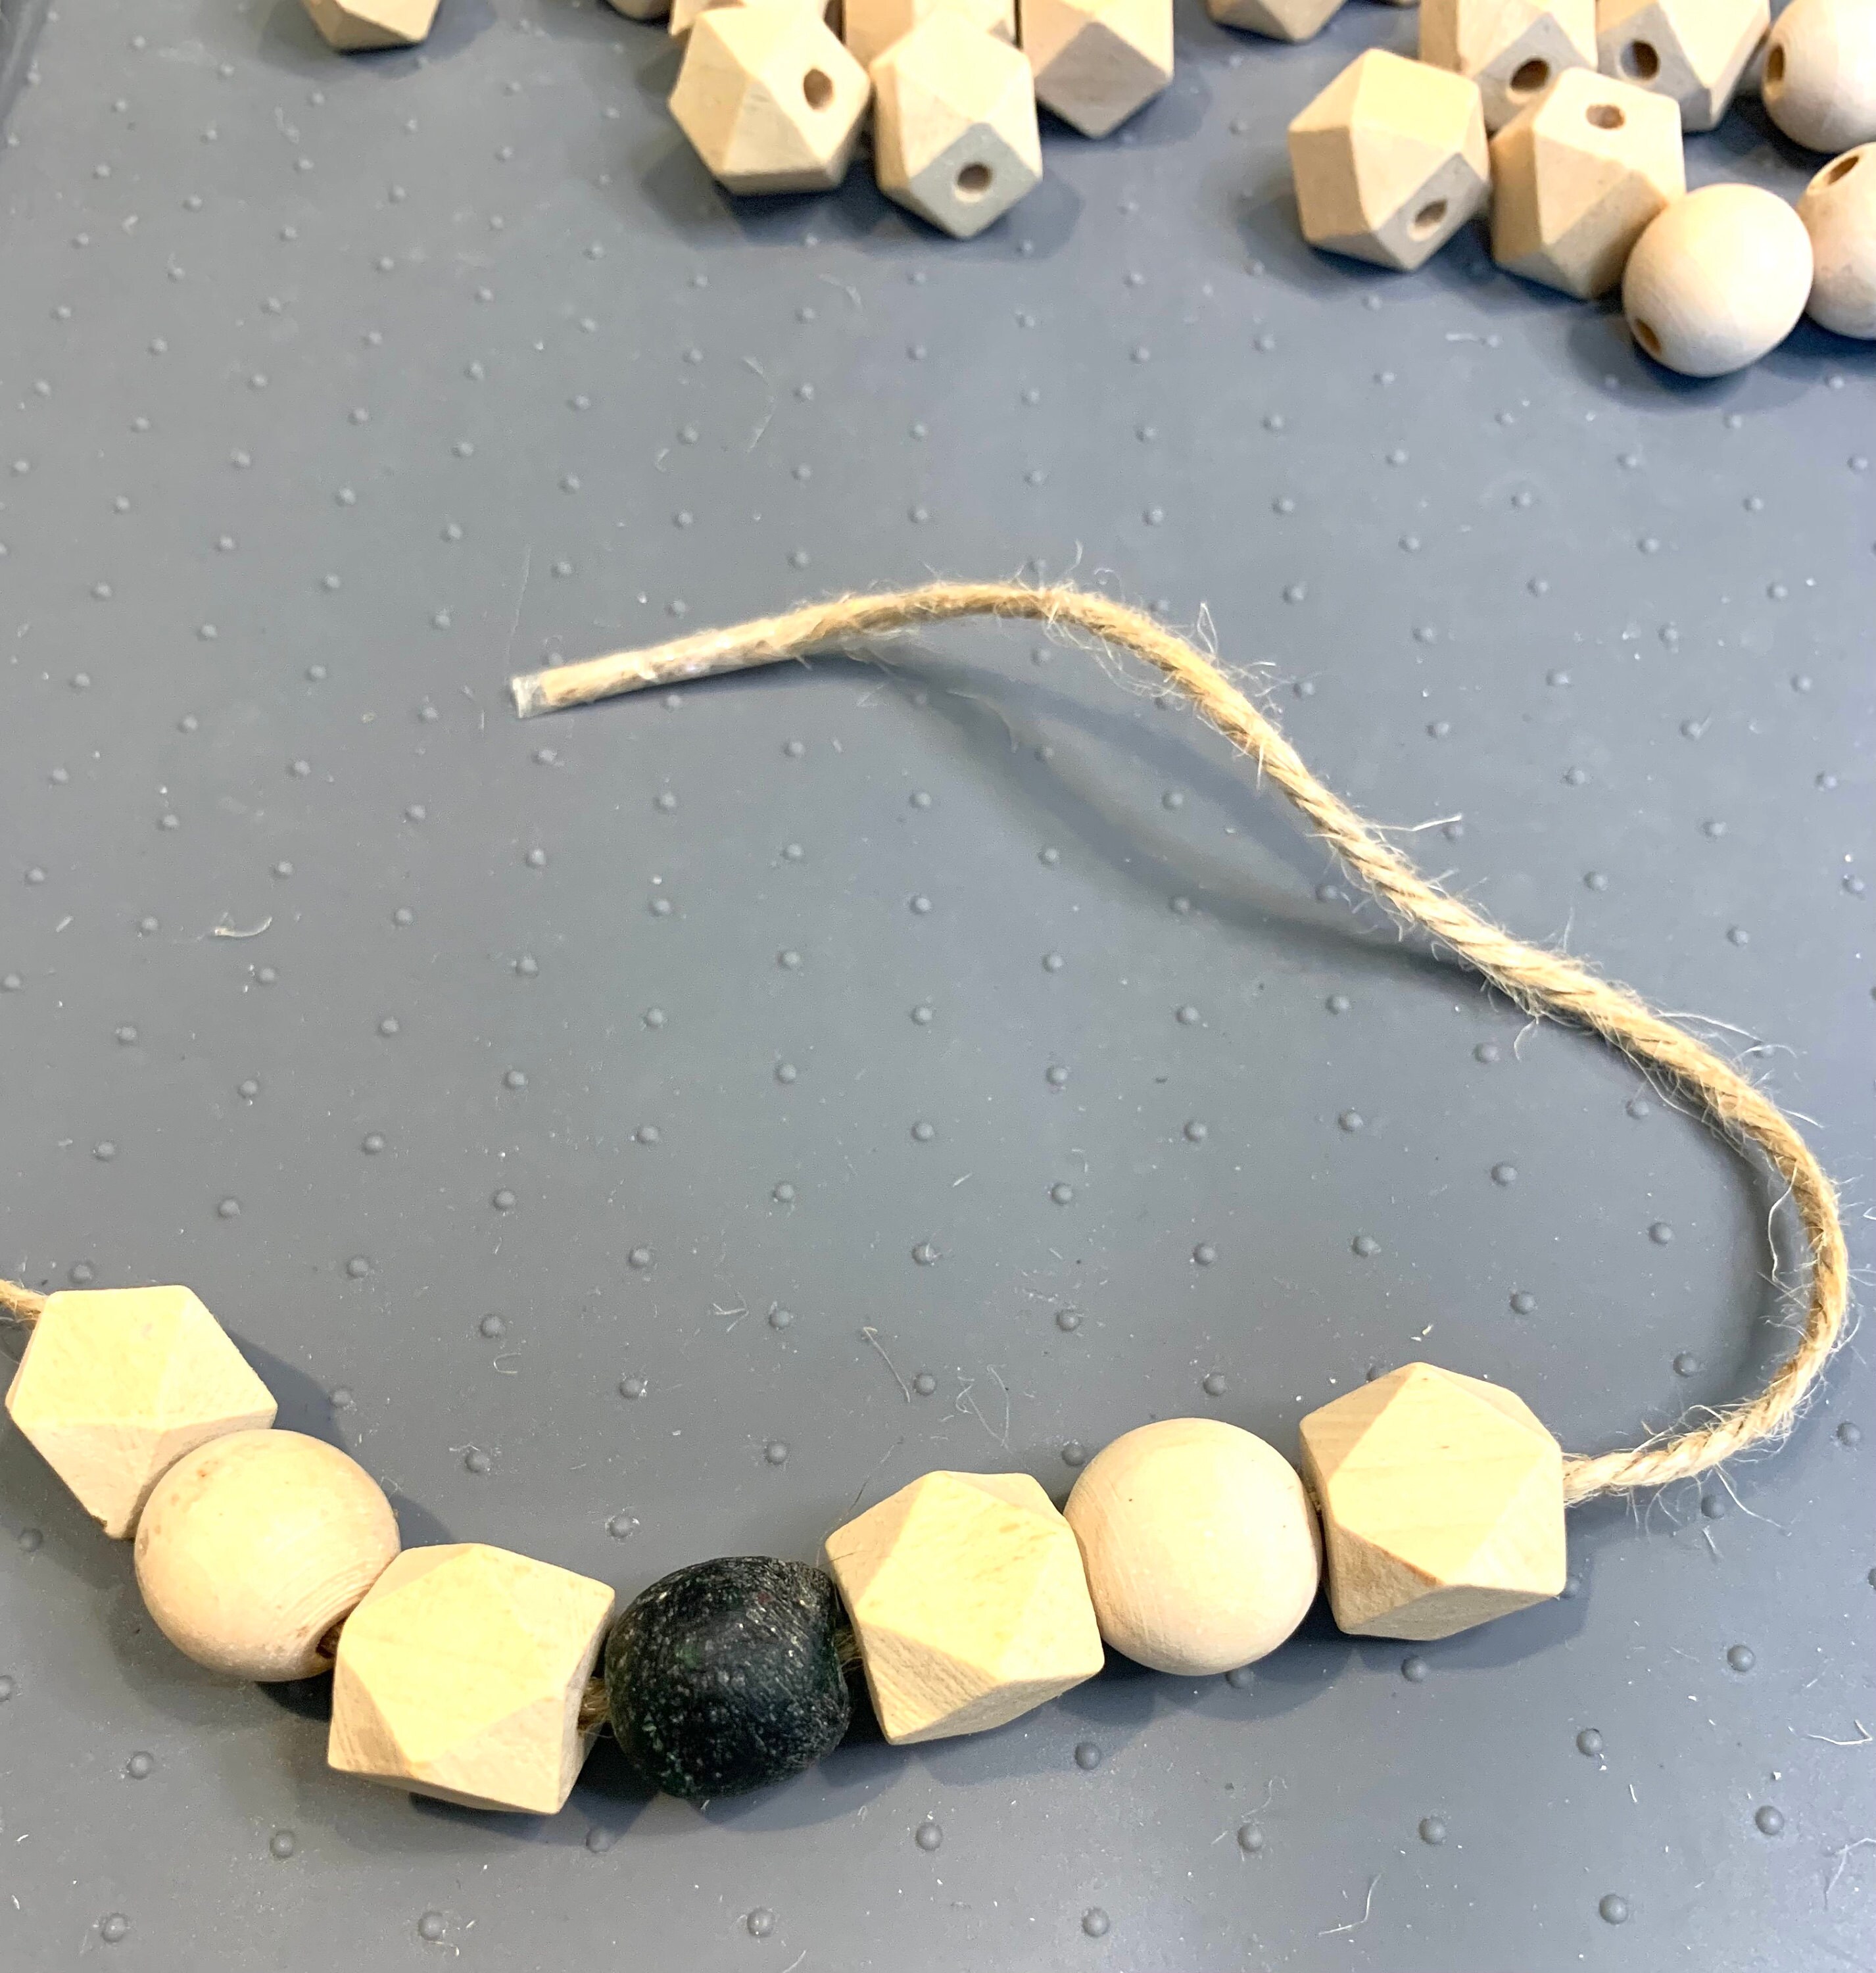
- To prevent fraying, wrap a small piece of tape around the end of the twine—this makes threading the beads easier.
Step 3: String Your Beads
- Tie a knot at one end of your cord or twine to hold beads in place while adding beads. Leave some extra twine for any embellishments you plan to add to your final design.
- Thread your beads onto the twine in your planned pattern.
- Adjust the arrangement as needed until you’re happy with the design.
- Once all beads are in place, tie a knot at the end, leaving extra twine for embellishments.
- If you're creating loops for napkin rings or vases, tie your ends together.

Step 4: Make and Attach Tassels (Optional)
If you’d like to add tassels to your garland, here’s how to make them:
- Wrap the Material: Cut a piece of cardboard to the desired length of your tassel size. Wrap your twine around the cardboard about 20 - 30 times (adjust depending on thickness preference).
- Tie Off the Top: Slide another piece of twine through the top loops and tie a tight knot, leaving a long tail to attach to the garland.
- Create the Tassel Neck: Slide the twine bundle off the cardboard. Wrap another piece of twine about ½ inch below the top loops several times and secure it with a knot.
- Trim the Ends: Cut through the bottom loops and cut to even out the ends.
- Attach to Garland: Use the long tail from step 2 to tie the tassel to the garland’s end.

Ways to Customize & Enhance Your Garland
Want to make your garland even more unique? Here are some fun ways to personalize it:
🎨 Paint or Stain the Beads – Use acrylic paint, stain, or chalk paint to add color. For a dip-dye effect, partially submerge the beads before drying.
🔤 Add Letter Beads or Wood Cutouts – Spell out a name, phrase, or seasonal word by incorporating letter beads or decorative wood accents.
📎 Attach Mini Clothespins – Use tiny clothespins along the garland to display photos, notes, or small decorations.
🎀 Tie on Fabric Ribbons – Weave in or tie on strips of burlap, lace, or fabric between beads for a rustic farmhouse look.
🌿 Incorporate Faux Greenery – Attach sprigs of faux eucalyptus, dried flowers, or greenery for a fresh, nature-inspired aesthetic.
✨ Use Metallic or Patterned Beads – Mix in gold, silver, or marbled beads for an elegant or boho style.
🎄 Make It Seasonal – Customize garlands for different holidays by adding themed elements—think red and green for Christmas, pastel for spring, or warm earth tones for fall.

